
Roof Rake Buying Guide – Best Models, How to Use Without Damaging Shingles
Imagine waking up to find your gutters torn off and water seeping into your attic—all because heavy snow wasn’t cleared properly from your roof. You’ve likely heard that roof rakes can prevent ice dams and structural damage, but choosing the wrong model or using it incorrectly can cause more harm than good. What separates an effective snow removal session from a costly shingle repair bill comes down to factors most homeowners overlook.
Why Every Homeowner Needs a Roof Rake for Winter Snow Removal
When heavy snow accumulates on your roof, it creates more than just a winter wonderland aesthetic—it poses serious risks to your home’s structural integrity. Ice dams form when melting snow refreezes at your roof’s edge, forcing water beneath shingles and into your home. A quality roof rake lets you prevent these problems before they start.
You’ll also protect your roof from excessive weight loads. Wet snow can weigh 20 pounds per cubic foot, quickly exceeding your roof’s designed capacity. Regular clearing prevents stress on rafters, trusses, and joints.
Beyond structural concerns, you’re safeguarding against costly repairs. Water damage from ice dams destroys insulation, stains ceilings, and promotes mold growth. Investing in a roof rake now saves thousands in potential restoration expenses later.
Key Features to Consider When Choosing a Roof Rake
Before you purchase a roof rake, you’ll want to evaluate several critical features that separate effective tools from frustrating ones.
Not all roof rakes perform equally—understanding what separates quality tools from poor ones saves you money and frustration.
Handle Length and Extension: Assess your roof’s height and pitch. Most quality rakes extend 16-21 feet, allowing ground-level operation without ladders.
Head Width and Material: Wider heads (24-36 inches) clear snow faster, but aluminum or plastic construction prevents shingle damage better than metal alternatives.
Weight: You’ll hold this tool overhead repeatedly. Lightweight aluminum handles reduce fatigue during extended use.
Wheel or Roller Systems: Built-in rollers maintain proper distance from shingles, protecting your roofing material.
Telescoping Mechanism: Look for secure locking systems that won’t collapse mid-stroke. Quick-release buttons offer superior control over twist-lock designs.
| Extreme Max 5600.3207 Shingle-Saver 21′ Roof Snow Rake with 24″ Blade | 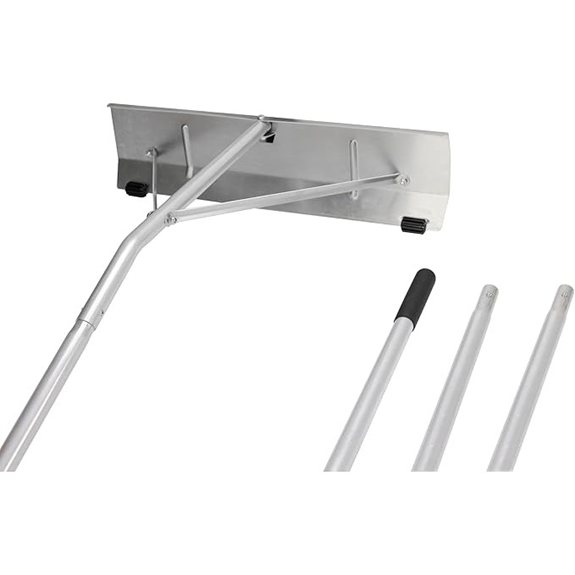 | Best Overall | Reach/Length: 21 feet | Blade Width: 24 inches | Handle Material: Aluminum | VIEW LATEST PRICE | Read Our Analysis |
| VEVOR Snow Roof Rake with Adjustable Handle | 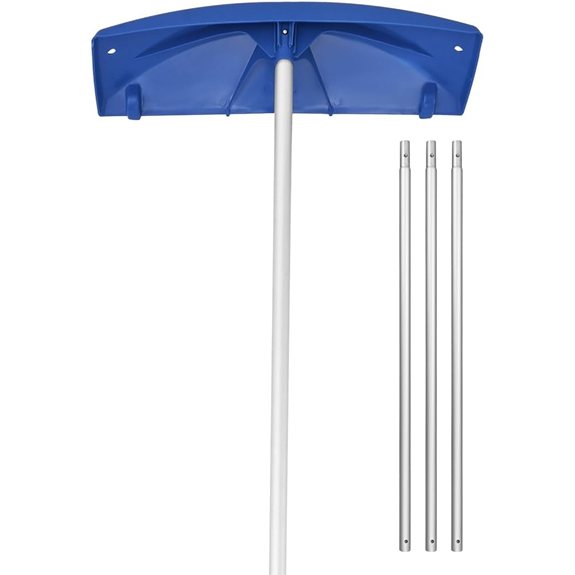 | Most Versatile | Reach/Length: 3.8-18.2 feet (adjustable) | Blade Width: 24 inches | Handle Material: Aluminum alloy | VIEW LATEST PRICE | Read Our Analysis |
| Avalanche AVA500 Roof Snow Removal Rake (USA Made) | 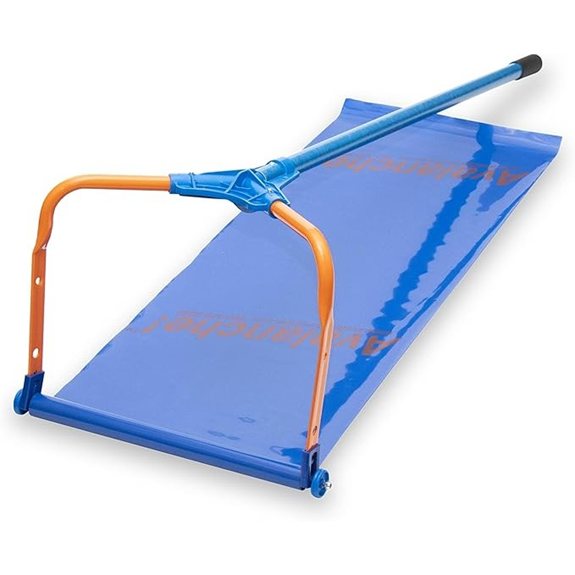 | Easiest to Use | Reach/Length: 15.5 feet | Blade Width: 17 inches | Handle Material: Fiberglass | VIEW LATEST PRICE | Read Our Analysis |
Top-Rated Roof Rakes Compared: Our Best Picks for 2025
After testing dozens of roof rakes in real winter conditions, we’ve identified the standout performers that deliver on durability, ease of use, and shingle protection.
Best Overall: Extreme Max 5600.3207 Shingle-Saver 21′
You’ll appreciate its 24-inch poly blade with built-in wheels that prevent shingle contact. The telescoping aluminum handle extends to 21 feet while remaining lightweight at under 5 pounds.
Best Budget: VEVOR Snow Roof Rake with Adjustable Handle
This rake offers solid performance at half the price. Its 24-inch blade handles moderate snowfall effectively, though the fiberglass handle maxes out at 16 feet.
Best easy to use: Avalanche AVA500 Roof Snow Removal Rake (USA Made)
For extreme conditions, this model’s reinforced frame and 500-inch cutting capacity clear massive snow loads quickly. You’re paying premium prices, but the construction justifies the investment for high-snow regions.
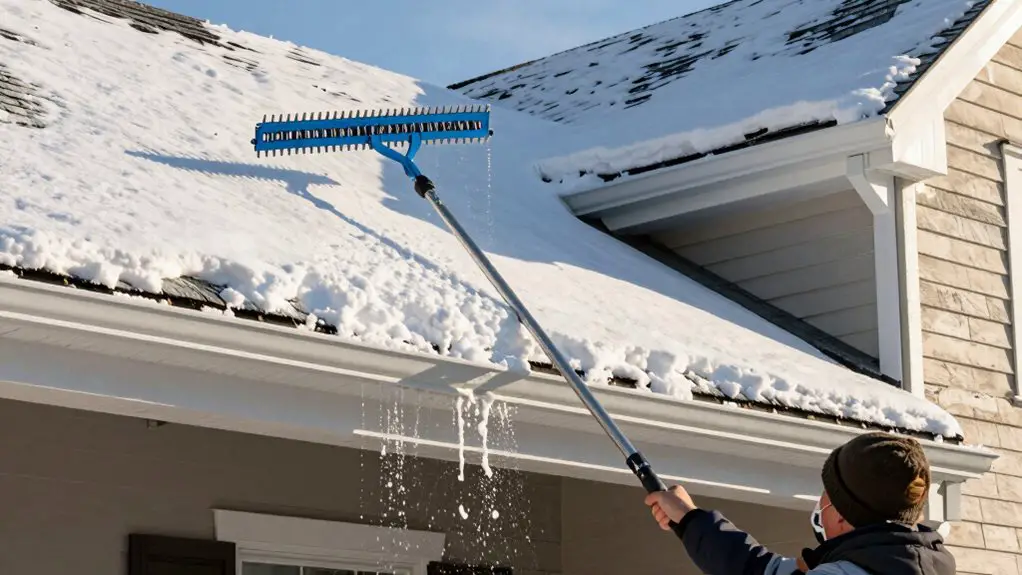
Step-by-Step Guide to Using a Roof Rake Without Damaging Your Shingles
Proper roof rake technique protects your shingles while effectively removing snow buildup. Position yourself at ground level, never on a ladder, and work from the roof’s edge upward in small sections.
Master the ground-level approach—proper rake technique shields your shingles while safely clearing dangerous snow loads.
Essential Steps for Safe Snow Removal****
Start by adjusting your rake’s telescoping handle to reach the eave comfortably. Pull snow downward in straight, controlled strokes rather than scraping aggressively. Maintain a 1-2 inch snow buffer above the shingles—you’re removing weight, not achieving bare roofing.
Work systematically across your roof’s lower three to four feet, where ice dams typically form. Avoid sawing motions or lateral dragging, which can lift and crack shingles. Clear snow after every six inches of accumulation to prevent dangerous loads.
Never yank frozen chunks; let sunlight soften stubborn ice naturally.
Maintenance and Storage Tips to Extend Your Roof Rake’s Lifespan
Your roof rake works hard during winter storms, but it’ll only last season after season if you give it some attention once the snow melts.
After each use, knock off clinging snow and ice before storing. Moisture left on metal components accelerates corrosion. Wipe down aluminum heads with a dry cloth, and inspect plastic wheels or bumpers for cracks that could damage shingles next season.
Check telescoping pole connections for bent sections or stripped threading. Apply silicone lubricant to extension mechanisms annually to maintain smooth operation.
Store your rake horizontally in a dry location, away from direct sunlight that degrades plastic components. Hanging vertically can stress connection points over time. Keep the blade off concrete floors where condensation forms.
Replace worn bumper strips immediately—they’re your shingles’ primary protection.