
How to Repair and Seal Your Driveway – Best Time and Products for 2026
Your driveway takes a beating from UV rays, rain, ice, and daily traffic — and without proper sealing, small cracks quickly turn into costly repairs. Whether you’re tackling the job yourself or hiring a pro, knowing the right time, products, and techniques for 2026 makes all the difference. From surface prep to curing times, every step matters if you want results that last. Here’s exactly how to get it done right.
Why Your Driveway Needs Sealing Now
If you’ve been putting off sealing your driveway, now’s the time to act. Driveway sealing creates a protective barrier against UV rays, water penetration, and chemical spills. Without it, moisture seeps into your surface, causing cracks and potholes that demand expensive repairs.
When you seal an asphalt driveway every two to three years, you’re preventing freeze-thaw damage that destroys unprotected surfaces. Concrete driveways need resealing every five years. Apply sealant before deterioration starts, not after.
A successful driveway depends on timing. Seal when temperatures exceed 55°F—spring or early fall delivers the best curing conditions. Beyond protection, a freshly sealed surface boosts your curb appeal and property value. You control your driveway’s lifespan. Take command of maintenance now.
DIY Driveway Sealing vs. Hiring a Pro
Now that you understand why sealing matters, you need to decide whether to tackle the job yourself or bring in a professional. DIY driveway sealing costs between $40 and $165 per 5 gallons, while hiring a professional runs $173 to $707. Here’s what you should weigh:
DIY driveway sealing saves money, but professional application delivers lasting precision—choose the path that fits your budget and standards.
- Cost control: DIY puts purchasing power in your hands, slashing labor expenses entirely.
- Quality assurance: Professionals apply sealant to your driveway with precision, delivering a smooth finish that lasts longer.
- Weather conditions: Pros know exactly when temperature and humidity levels are ideal for application—knowledge that prevents costly failures.
- Time investment: Outsourcing frees you to command your schedule while experts handle surface prep and execution.
Choose the approach that gives you the most control over your results.
When to Seal Your Driveway in 2026
Watch for fading color, hairline cracks, or oil stains—these signal it’s time to act. Sealing at the right moment gives you maximum protection and extends your driveway’s lifespan considerably.
Best Driveway Sealers and Crack Fillers for 2026
Choosing the right sealer or crack filler makes the difference between a repair that lasts one season and one that holds up for years. When sealing asphalt, you’ll want products that command performance and resist UV damage, temperature swings, and moisture. The best driveway sealers for 2026 include options from SealMaster and Rust-Oleum, while crack fillers from Henry’s and Sika deliver superior adhesion.
The best driveway sealers and crack fillers command lasting performance against UV damage, temperature swings, and moisture.
- SealMaster or Rust-Oleum sealers — UV-resistant formulas that dominate harsh conditions
- Henry’s or Sika crack fillers — flexible, strong-bonding compounds that prevent recurring damage
- Latex-ite Road Rescue patches — fast-curing solutions that dry completely within hours
- Green Seal-certified products — eco-friendly options without sacrificing durability
Apply when temperatures exceed 50°F. For extensive damage, seek professional help.
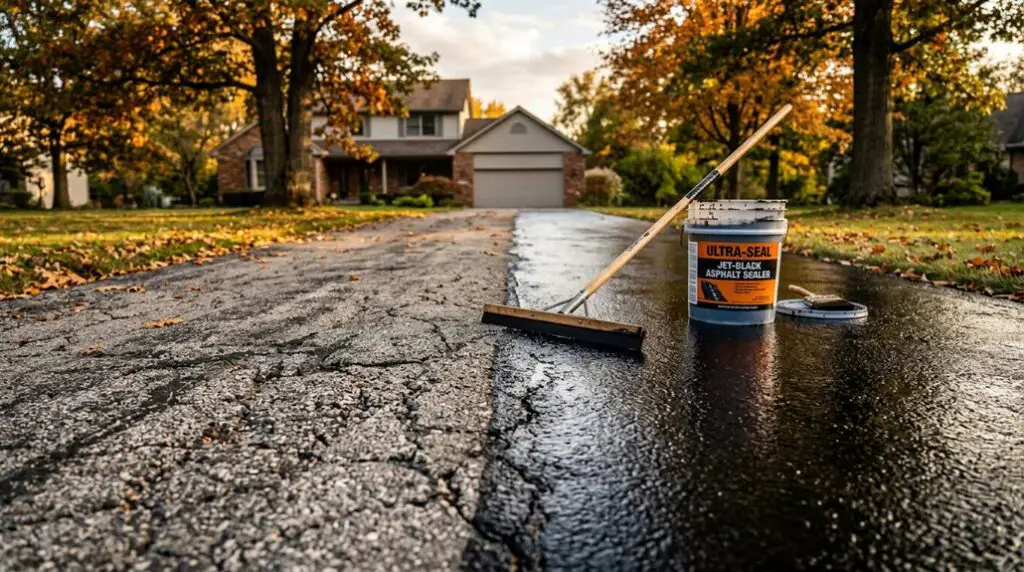
Tools and Materials for Driveway Sealing
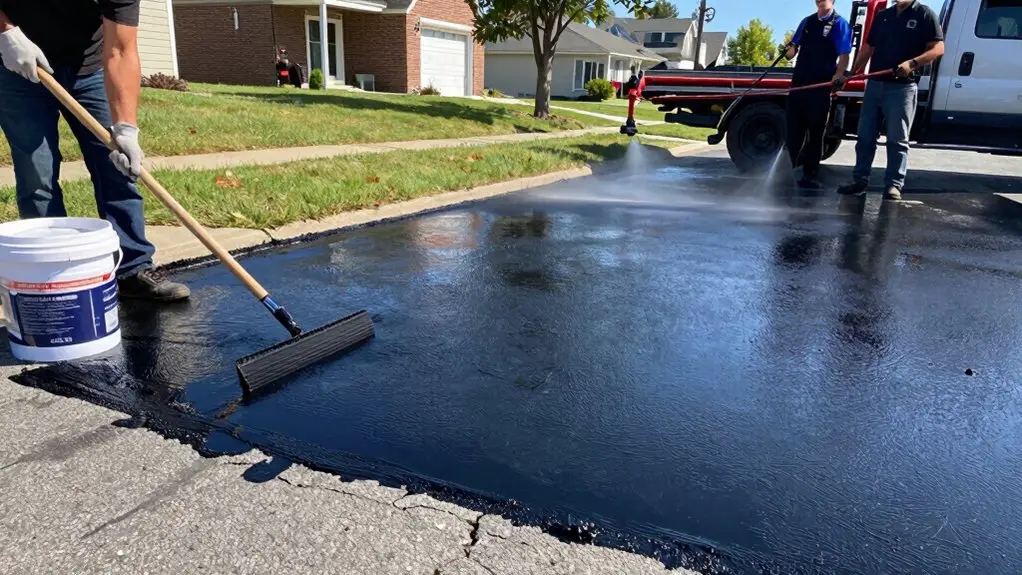
Having the right tools and materials on hand before you start guarantees a smooth, efficient sealing job. You’ll need a power washer or high-pressure nozzle, a stiff-bristled broom for scrubbing, and a leaf blower or shop vac to dry the surface completely.
Grab a degreaser or specialized cleaning solution to tackle oil stains—skip this step and your sealant won’t adhere properly. Stock up on high-quality crack filler and patching compounds to address surface damage before application. For spreading sealer evenly, use a paint roller or brush; a sprayer handles large areas faster. These tools put you in full control of the process. Always check product labels for specific recommendations on application methods and drying times to lock in professional-grade results.
Clean, Patch, and Prep Your Driveway Surface
Now that you’ve gathered your tools and materials, it’s time to put them to work by preparing your driveway surface. Proper prep gives you full control over the outcome and guarantees your sealing job lasts.
- Cleaning comes first. Use a pressure washer or high-pressure nozzle to blast away dirt, stains, and contaminants from your driveway for maximum adhesion.
- Handle crack repair immediately. Apply high-quality crack filler or patching compounds to every damaged spot, because untreated cracks will worsen and undermine your results.
- Let repairs fully cure and dry. Rushing this step compromises the bond between filler and surface, weakening your entire project.
- Tape off surrounding edges. Use painter’s tape to protect adjacent areas from accidental sealant spills, keeping your workspace sharp and controlled.
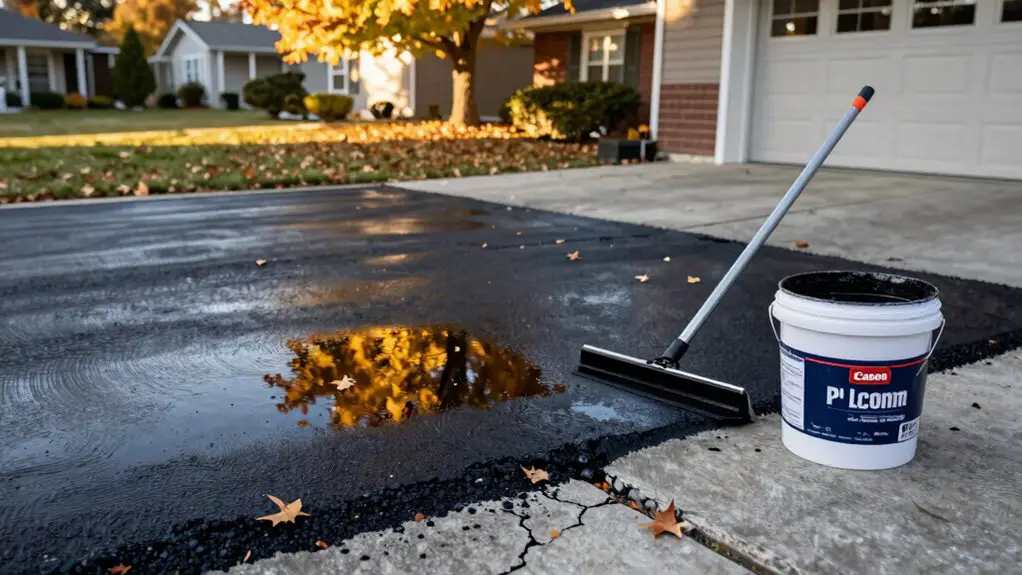
Apply Your Driveway Sealer Step by Step
Once your driveway surface is clean, patched, and fully cured, you’re ready to apply the sealer itself. Stir the product thoroughly, then use a brush, roller, or sprayer to lay down a thin, even coat across your asphalt. Follow the manufacturer’s instructions for coverage rates and drying time to maximize protection.
Allow the first coat to dry completely—typically around 8 hours—before applying a second coat to high-traffic zones that take extreme wear. This second layer gives you commanding durability that stands up to the elements.
After you seal your driveway, wait at least 24 hours before walking on it and a full 48 hours before driving on the surface. Respecting this time guarantees proper curing and long-lasting results you can count on.
Driveway Sealer Curing Times You Can’t Rush
After you’ve applied your sealer, the curing window becomes the most critical phase of the entire project. Sealing involves strict patience—curing times typically range from 24 to 48 hours, and you’ll need at least 48 hours before driving on the surface. Avoid sealing when rain is forecasted within that window, as moisture destroys adhesion.
- Wait 8 hours minimum between coats to guarantee proper bonding and maximum durability.
- Keep all traffic off the surface for a full 48 hours—no exceptions.
- Monitor weather conditions closely, targeting temperatures around 60°F with low humidity.
- Inspect for a uniform appearance and non-sticky texture before resuming use.
You control the outcome. Rushing curing times compromises every hour you invested in preparation and application.
Keep Your Sealed Driveway in Great Shape
Your driveway’s long-term performance depends on what you do in the months and years following a proper seal. Sweep regularly or use a pressure washer to remove debris that traps moisture, but don’t overdo it—excessive pressure washing erodes the sealant faster than weather alone. Treat oil stains immediately with a degreaser to prevent permanent damage.
Inspect your surface annually for cracks and wear. Filling small cracks early with quality filler protects the seal’s integrity. Keep heavy vehicles off freshly sealed driveways for at least 48 hours so the material cures completely. Maintaining sealed driveways is essential for maximizing your investment’s lifespan. Avoid harsh chemicals that break down protective coatings prematurely. These straightforward steps give you complete control over your driveway’s durability and appearance for years ahead.