Most deck stains fail not because of product quality but because homeowners apply them at the wrong moisture level—wood should register below 15% on a moisture meter before you start. Getting the timing, prep, and product selection right can mean the difference between a finish that lasts one year and one that holds up for five. What follows is everything you need to know to get it right the first time.
Why Your Deck Needs Stain and Sealer Protection
Your deck faces constant exposure to sunlight, rain, and temperature swings, and without proper protection, these elements will steadily break it down. Stain and sealing provide essential UV protection that prevents wood fibers from deteriorating, while blocking moisture that causes mold, rot, and structural weakness. Left untreated, your deck will crack and splinter, leading to costly repairs you don’t want.
Applying stain enhances your deck’s aesthetic appeal by highlighting the natural grain and delivering a long-lasting finish that commands attention. A protected outdoor space also increases your home’s value and keeps your family safe. Reapplication every two to five years, based on your climate, guarantees your deck maintains peak performance and visual impact for decades.
When to Stain Your Deck for the Best Results
Before you apply the stain, check the weather to guarantee temperatures stay between 50-90°F for at least 48 hours. Avoid staining in direct sunlight or before rain, which can prevent the stain from curing evenly. Successful staining also depends on reapplication every 2-5 years, varying by stain types and foot traffic. A properly sealed deck starts with precise timing.


How to Prep Your Deck Before Staining
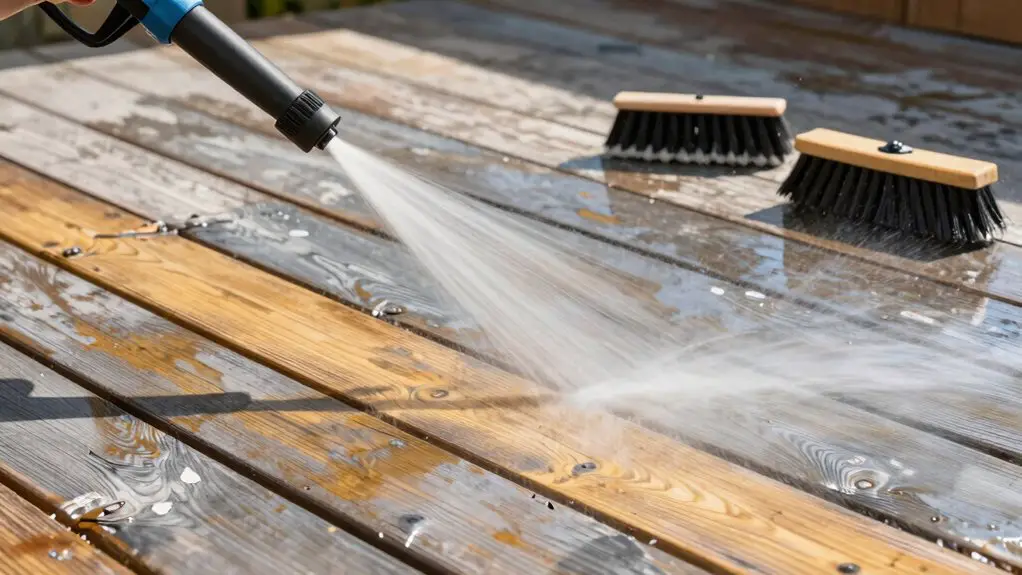
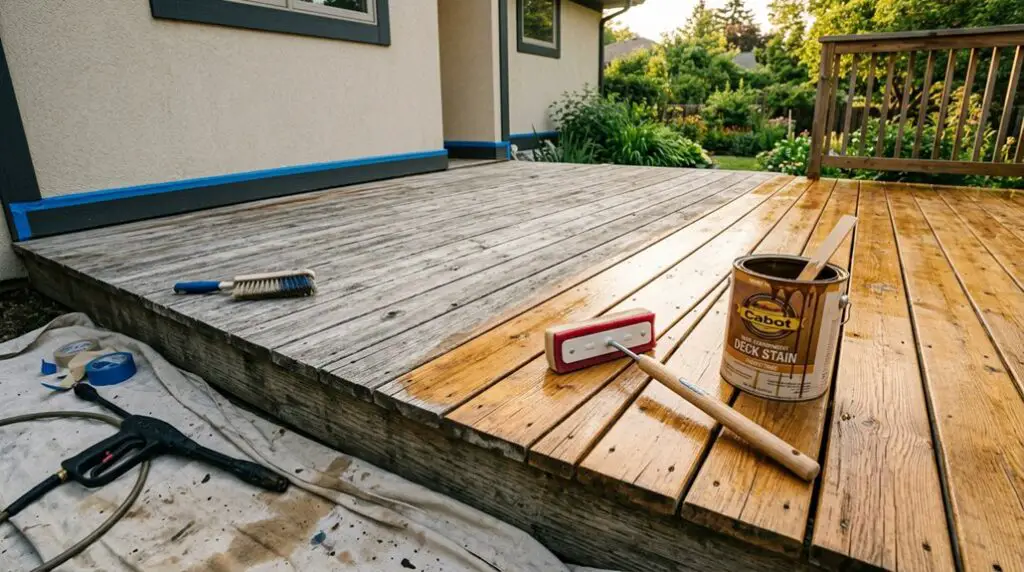
Everything you do before applying stain directly affects how long that finish will last. Start your surface prep by cleaning the deck with a deck cleaner or soap and water. For stubborn grime, pressure washing delivers superior results.
Next, inspect for damaged areas. Replace cracked or splintered boards and secure any loose nails. Once you’ve completed every repair, sand the entire surface with 80-grit sandpaper to create a smooth surface that grips stain effectively.
If you’re working with new pressure-treated wood, let it weather for 60–90 days before staining. Premature application traps moisture inside the wood. To confirm readiness, splash water on the surface. If it soaks in rather than beading up, you’re clear to proceed.
How to Choose the Right Deck Stain and Sealer
How well your deck stain performs depends largely on matching the product to your specific wood type and conditions. When staining a deck, you’ll want to choose the right stain or sealer based on your wood’s porosity. Cedar and pine absorb products differently, so always test your stain in a hidden spot first.
Transparent stains offer natural wood grain visibility, while semi-transparent options add color without hiding character. Solid stains deliver maximum coverage and pigmentation. Oil-based stains penetrate deeper and last longer, giving you superior protection. Water-based stains provide easier application and cleanup.
Before sealing your deck, perform a water absorption test. If water soaks in quickly, you need immediate reapplication. This simple check puts you in control of your deck’s long-term durability.
How to Stain and Seal Your Deck Step by Step
Start by giving your deck a thorough cleaning with a deck cleaner or pressure washer to strip away dirt, grime, and any remnants of old stain. Then let it dry for 24-48 hours before launching your deck staining project.
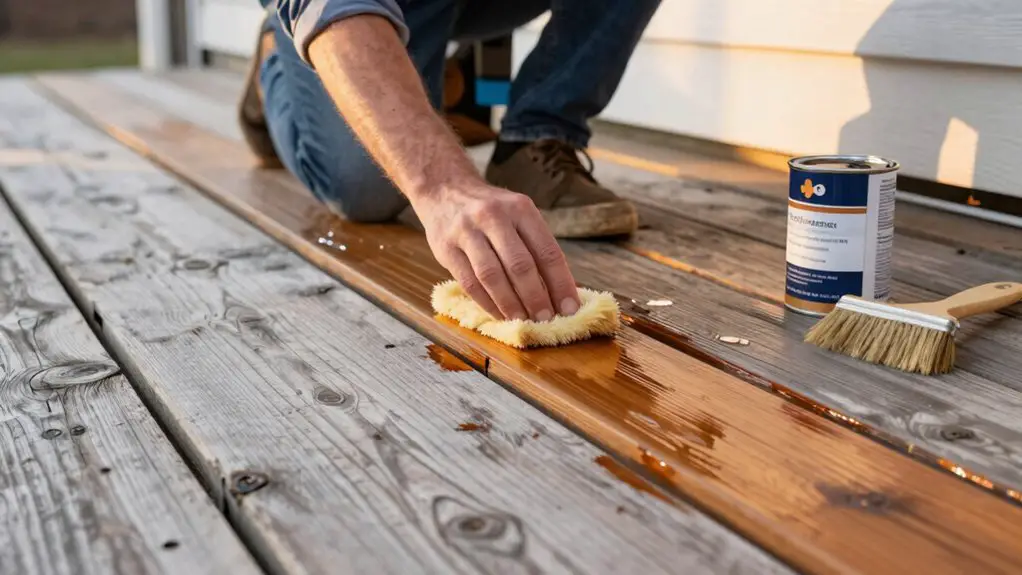
Apply stain in thin, even coats along the wood grain, beginning with railings so you don’t trap yourself. Avoid working in direct sunlight, which causes rapid drying and uneven results. Once the stain or sealant is completely dry, add a protective seal to guard against moisture and UV damage.
After 48 hours, perform a water absorption test. If water beads on the surface, you’ve succeeded. If it soaks in, reapply your thorough cleaning and sealing process.
How to Maintain Your Deck Stain Between Recoats
A well-stained deck won’t stay that way on its own—you’ll need to keep up with regular maintenance between full recoats to get the most out of your investment. Inspect for wear regularly, looking for color fading, surface cracking, or peeling. Perform a water absorption test every six months—if water soaks in rather than beading up, it’s time to reapply stain.
Annual deck cleaning with a mild soap solution or a dedicated deck cleaner removes grime that breaks down protective sealers over time. Shield high-traffic areas with outdoor rugs or furniture pads to reduce wear and tear on the finish. Apply a maintenance coat every one to two years, particularly in harsh climates, to maintain strong defense against moisture and UV damage.