
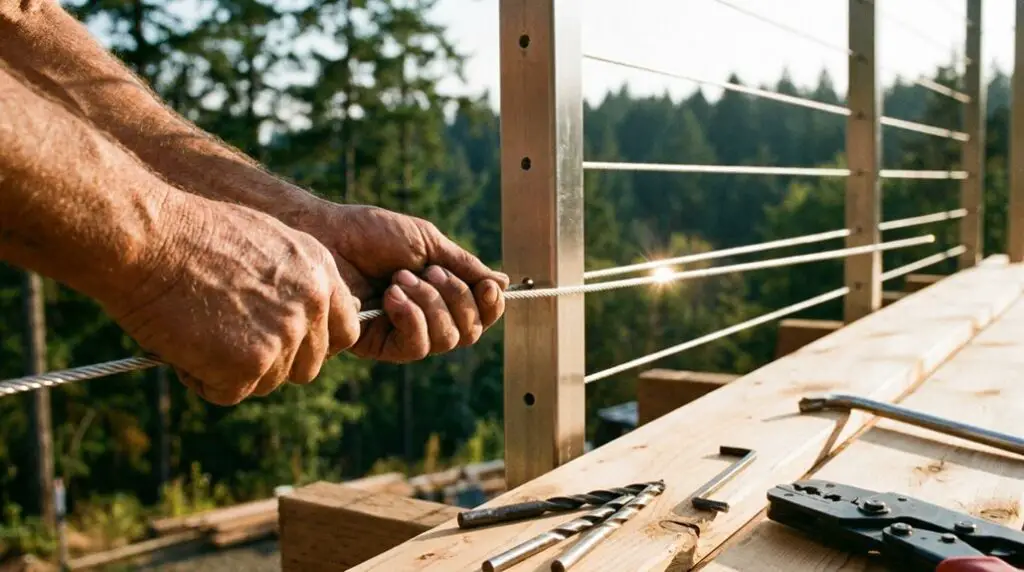
Most cable railing failures trace back to the first hour of installation, not years of wear. If you’re planning to tackle this project, you’ll need more than basic tools and good intentions. From code requirements to proper tensioning techniques, each step builds on the last. Miss one, and you’re starting over. What follows covers everything you need to get it right.
What You Need Before Installing Cable Railing
Before diving into your cable railing installation, you’ll need to gather a few essential tools: a level, miter saw, drill with appropriate bits, cable cutters, and crimpers.
These tools for installation guarantee you execute your cable railing project with precision and control.
Next, secure your materials. You’ll need stainless steel cable, aluminum terminal and line posts, and tensioning mechanisms.
Stainless steel cable, aluminum posts, and tensioning mechanisms are the material essentials for a successful cable railing project.
If you’re working with a wood top rail, grab handrail clamps too. Accurate measurements are non-negotiable—end posts must be spaced no more than 20 feet apart, with line posts every 8 feet.
Before you install cable railing, review your local code requirements.
These regulations govern cable spacing, post height, and load strength. Knowing them upfront keeps your project compliant and on schedule.
Cable Railing Code Requirements You Must Know First
Once you’ve got your tools and materials sorted, it’s time to look at the code requirements that’ll shape your entire installation. The International Building Code and International Residential Code govern every decision you make, so know them cold.
Guardrails must reach at least 42 inches high on stairs and landings, and 36 inches on decks. No gaps in your cable runs can exceed 4 inches — non-negotiable.
For post spacing, keep end posts and intermediate posts within 4 feet on center to maintain structural integrity.
When you tension the cables, hit a minimum concentrated load of 200 pounds or 50 pounds per linear foot. Proper tensioning isn’t optional — it’s what transforms your cable railing system from a liability into a fortress.


How to Set and Space Your Cable Railing Posts
With your code requirements locked in, it’s time to start setting posts. Mark end post locations first—keep spacing no greater than 20 feet apart.
Position line posts every 8 feet to satisfy structural requirements for your aluminum cable railing system.
Drill pilot holes before securing each post, and verify your local building codes confirm the correct post size and installation method. Use a level and tape measure to keep every post plumb and properly aligned, then partially tighten screws for temporary support.
Install mid posts at maximum 4-foot intervals to control cable tension and prevent sagging. Before finalizing your install, double-check that no cable opening exceeds 4 inches in diameter.
Meeting these safety standards keeps your system structurally sound and code-compliant.
How to Run and Secure the Cables
Now that your posts are set and aligned, it’s time to run your cables. Mastering this cable run guarantees your installing a cable railing project meets building codes and stands the test of time.
- Insert the crimped end into the tensioner of the end post, threading the uncrimped end through each line post.
- Maintain spacing of no more than 4 inches between cables to satisfy building codes.
- Use a cable crimper to attach crimp sleeves, creating a secure fit on each uncrimped end.
- Confirm every cable is tensioned properly before finalizing installation.
Regular maintenance matters — inspect tension periodically and adjust cables that sag or loosen, keeping your railing system powerful, safe, and compliant.
How to Tension Cable Railing After Installation
Tensioning your cable railing after installation keeps it safe, taut, and code-compliant. Use a tensioning tool like the RailEasy™ Tensioner to tension cables precisely, eliminating sagging and maintaining ideal cable tension.
Follow your sequence diagram when securing cables, keeping spacing at four inches or less to meet building codes.
Once you’ve finished tensioning cable railings, inspect all fasteners — lock nuts and crimped sleeves — confirming they’re fully secured. Don’t leave anything loose; safety compliance demands it.
Schedule re-tensioning annually to sustain performance and prevent gradual loosening.
Finally, conduct a thorough visual examination of the entire system post-installation. Confirm stability, verify securing cables are intact, and ascertain every component meets required standards. Dominate this process, and your cable railings will perform flawlessly for years.