
You might not realize that a strategically designed accent wall can change not just the aesthetic of a room, but also its perceived size and atmosphere. When you initiate a DIY accent wall project, you reveal the potential to redefine any space in your home while expressing your individual style. Whether you’re considering bold geometric patterns, soothing pastel hues, or rustic shiplap, each option brings distinct advantages. Incorporating different textures or vibrant murals can elevate your home in surprising ways. Curious about how these elements can interact to transform your space? Let’s explore further possibilities together.
Geometric Shapes and Patterns
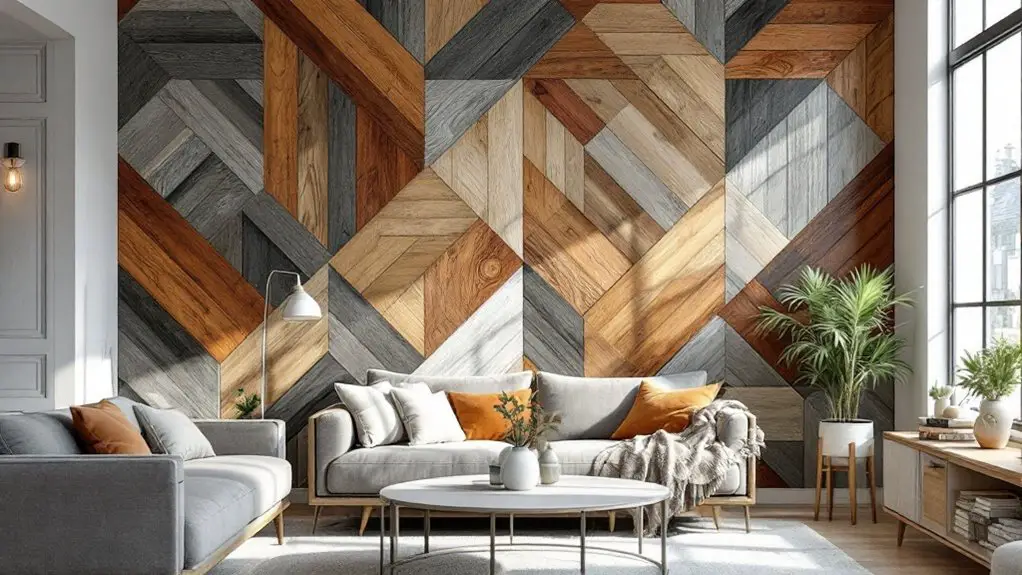
A striking geometric accent wall can transform your space, adding both sophistication and personal flair. Begin by measuring the wall’s length and height to establish your design canvas’s dimensions. Sketch your ideas on graph paper or use software like Sketch-Up for a visual mockup. Consider patterns such as herringbone or grid for a timeless appeal.
If you plan to use multiple colors, arrange post-it notes or markers to visualize the color distribution clearly. Be certain your design is scalable and practical with the materials you have.
Once your design is set, cut the wood into strips or slats using a table or circular saw. For complex designs, cutting at specific angles like 45 degrees may be necessary. Verify each piece is even by sorting and sanding them well. Selecting lumber with minimal blemishes will ensure the final design’s aesthetic is clean and polished.
Label each piece for correct placement and make precise angled cuts to disguise seams, especially for longer boards.
Install your masterpiece by marking studs with a magnetic stud finder for secure anchoring. Affix each piece with wood glue and a nail gun, aligning with your pattern while confirming straightness with a level.
For a flawless finish, caulk all edges before priming and painting your work of art.
Vibrant Color Walls
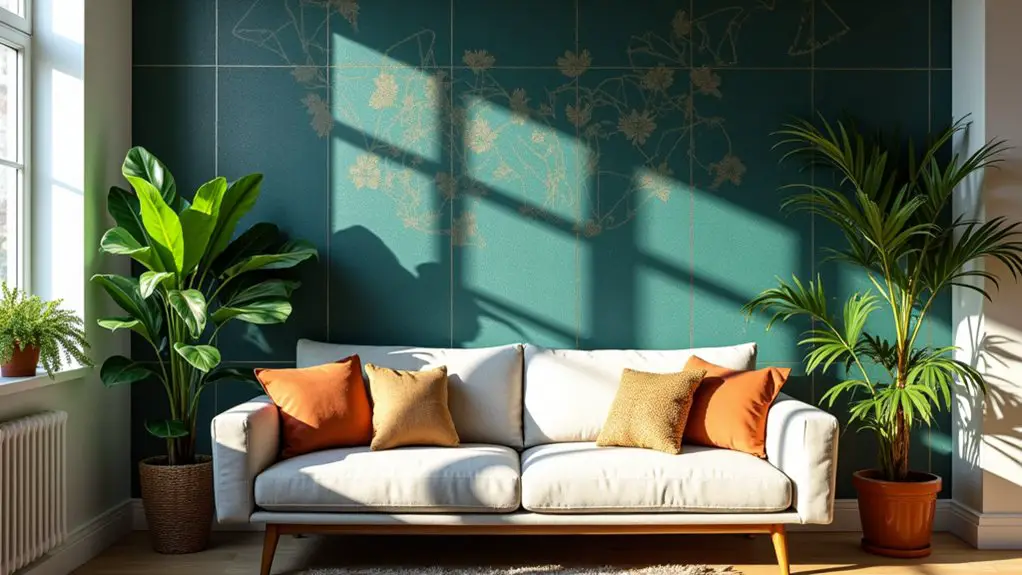
Infuse life into any room by choosing vibrant color walls that burst with energy and personality. Start with bright hues like red, orange, pink, or yellow, which naturally invite happiness and excitement into your living spaces.
To maintain a cohesive look, consider your existing wall color and opt for warm or cool tones that complement each other. Rich shades like Rosy Apple 2006-30 or Raspberry Blush 2008-30 can add a dramatic glow, making them perfect for family or dining rooms where conversation thrives. Bright colors like these enhance confidence and enthusiasm, creating inviting atmospheres that are ideal for social spaces.
Preparation is key. Use high-quality paint and painter’s tape to achieve clean edges, giving your wall a professional finish. A paint with a slight sheen, such as eggshell, will catch the light beautifully.
Make sure to apply two good coats for the desired depth of color, and ventilate the room well.
To complement your vibrant wall, balance with neutral or complementary décor to avoid overwhelming the space. The bold backdrop is perfect for showcasing artwork or photographs.
Pair it with modern furniture, mixed metal accents, and a statement centerpiece like a gold mirror for a chic, cohesive look. Keep the remaining area’s tones softer for harmonious visual appeal.
Mural Masterpieces
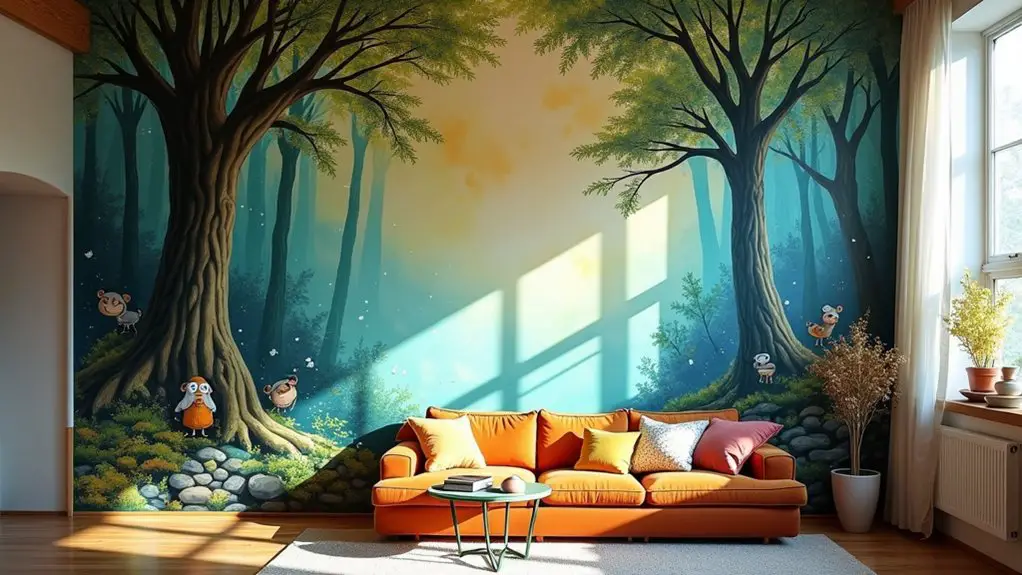
Transform a blank wall into a breathtaking mural masterpiece, a canvas that reflects your unique style and creativity. Choose a design that aligns with the room’s aesthetic, drawing inspiration from your favorite bookmark designs or creative elements.
For precision, project the design onto the wall with an affordable projector, ensuring you capture every detail. Adjust it using software like Procreate to perfectly fit your wall dimensions, then pencil in your design with confidence.
Gather your tools: sample paints to test colors, pencils for sketching, and quality paints that match your vision. Protect your space with drop cloths. A single-color painted accent wall is the most affordable option, allowing savings by limiting paint usage to one wall.
Begin painting in sections, layering to build rich color depth, and allowing time for each coat to dry. For intricate elements, employ stencils or infuse a personal touch with freehand painting.
Elevate your mural’s impact with advanced techniques: blend colors for an ombre effect, introduce metallic accents for gleam, or antiquing for a vintage feel.
Precision and patience are key. Tackle touch-ups for a flawless finish. By mastering these steps, your mural evolves into a stunning focal point that transforms not just your wall, but the entire room.
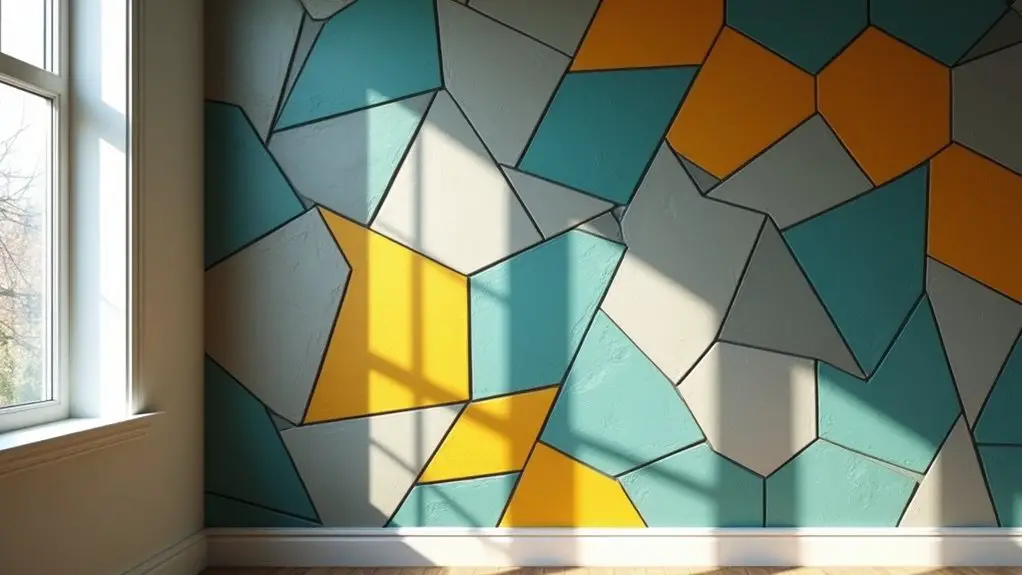
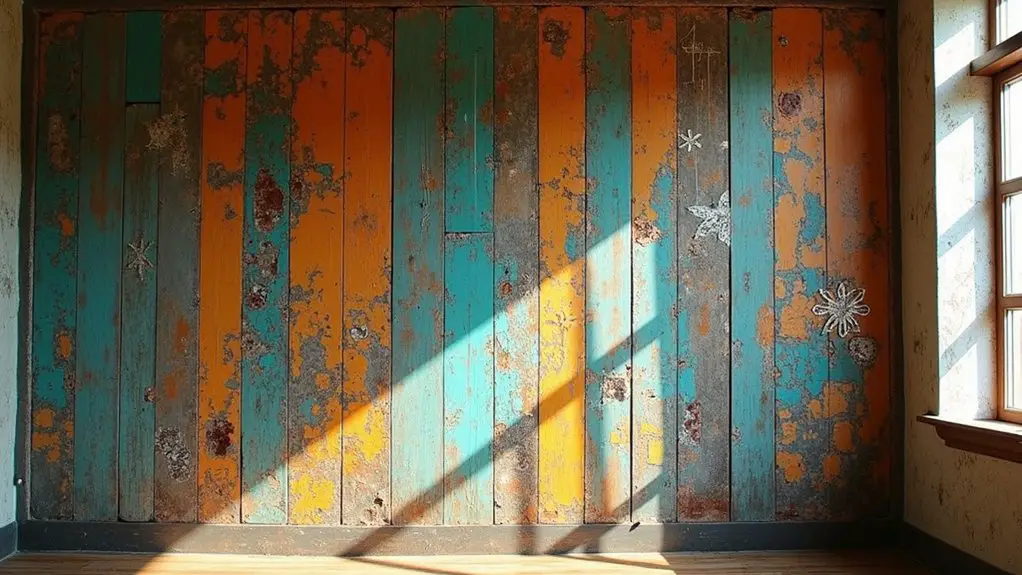
Textured Wall Panels
When it comes to adding character and charm to your living space, textured wall panels offer a modern yet versatile option. Imagine transforming a plain wall with beadboard panels, which infuse a cottage or traditional vibe. These panels are commonly used in bathroom makeovers for an aesthetic appeal that’s both refreshing and classic. Opt for wood or MDF, then modernize them with creative paint colors. Installation is a breeze, giving your wall a textured, ribbed appearance you’ll love.
For a contemporary flair, consider modern slat panels. With their angled or uniquely shaped boards, these panels can be crafted using materials like 1x2s and plywood. The beauty of slat panels lies in the freedom to experiment with arrangements and angles. Paint or stain them to achieve a finish that elevates your space’s aesthetic.
If seeking classic texture, board and batten panels are ideal. Employ vertical boards of varied widths for a sophisticated yet timeless appeal. Guarantee precise measurements to avoid studs, creating a seamless wall covering that conceals imperfections.
For something truly distinct, herringbone and geometric panels are your canvas. These intricate patterns require careful planning and wood trim for execution. While time-intensive, this technique transforms your wall into an eye-catching masterpiece adaptable to diverse decor styles.
Shiplap and Wood Touches
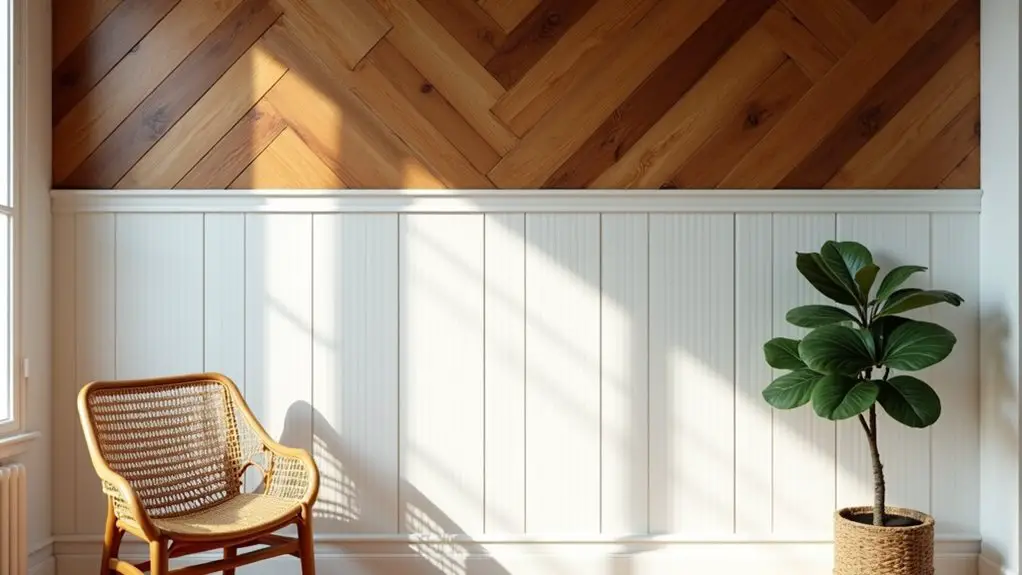
With shiplap and wood touches, you can effortlessly elevate your home’s aesthetic while bringing a hint of rustic charm into any room. To achieve this, gather 4ft x 8ft plywood sheets or opt for S4S boards for a tongue-and-groove shiplap look. Use a miter saw or circular saw to cut them down to the desired width, usually around 6 inches.
Before starting, measure and mark your wall, ensuring both precision and a seamless finish by optionally removing the baseboard. DIY shiplap typically uses lightweight planks with a thickness of about 1/5 inch, making them easy to handle and install.
Prepare your space by painting the wall the same color as your shiplap, concealing any potential gaps. Mask off non-paint areas and lay down a ground cloth to protect your floors. Locate and mark the studs with a stud finder, then attach your first board with a brad nailer or nail gun, making sure it’s level.
Maintain consistent gaps with nickels or spacers as you continue adding planks.
For a polished look, fill nail holes with lightweight spackle and sand smooth. Paint the boards using a roller and brush for ideal coverage.
Finish by adding base molding, caulking seams, and incorporating additional trims like quarter round for added finesse.
Peel-and-Stick Wallpapers
Peel-and-stick wallpapers offer a stylish, hassle-free way to refresh your space, allowing for creativity without the commitment of traditional wallpaper.
Begin by ensuring your wall is clean, dry, and free of any coverings. Smooth any imperfections with 150 or 200 grit sandpaper, and wipe the area with a lint-free rag. For textured walls, selecting the right wallpaper brand is vital for a perfect finish. Consider using wallpaper in difficult spaces such as corners or unusual wall shapes for quick updates.
Choose a pattern that aligns with your aesthetic, whether it’s geometric, floral, or marble. Carefully measure and mark the wall, then draw a vertical pencil line with a level to guide you.
As you apply the wallpaper, peel back the backing in sections, aligning with your marks. Enlist tools like painter’s tape or even an extra pair of hands to maintain precision.
In tricky spots like corners, leave some overhang to trim later, and overlap edges slightly to maintain seamless continuity. A smoothing tool is essential to eliminate air bubbles.
For sticking issues, use strong adhesives like Gorilla Glue spray. Beyond walls, consider using peel-and-stick wallpaper on furniture or appliances, transforming spaces like a cozy nook or backsplash with this versatile material.
Decorative Wall Decals
After experimenting with peel-and-stick wallpapers, it’s time to explore the world of decorative wall decals, a perfect way to infuse personality and creativity into any room.
Wall decals are stylish, endlessly flexible, and offer a vast array of designs that can elevate your decor instantly. Whether you’re aiming for subtle sophistication or bold statements, there’s a decal waiting to transform your space.
Here’s what you should consider:
- Diverse Options: Choose from modular murals like the Grady Yent for customizable designs, or geometric patterns like mini triangles for modern flair. Each type offers unique visual intrigue without the permanence of traditional wallpaper.
- Ease of Use: Most decals are peel-and-stick, making installation and removal a breeze. They’re repositionable, removable, and leave no residue, promoting easy changes and clean-ups, especially with options like dry-erase decals.
- Multifunctional Applications: Ideal for creating accent walls, enhancing children’s spaces with themes like sports or florals, and even serving as organizational tools with dry-erase functionalities. WallPops™ offers a variety of removable, reusable, and repositionable wall decals, making them perfect for renters who want to avoid leaving sticky residue or permanent damage.
- Customizability and Style: Decals, available in various sizes and colors, provide thematic consistency to match your decor, effortlessly harmonizing with other elements like floating shelves for an innovative, curated look.
Mirror and Reflective Designs
Why not explore mirror and reflective designs to not only enhance your decor but also maximize your room’s natural light? Start by selecting smaller, budget-friendly mirrors from stores like Target or Dollar Tree, or opt for medium-sized ones to create a striking effect without overspending. Mix various shapes—rectangular, circular—to achieve a layered look that captivates. For a modern vibe, consider large mirrored panels, or embrace nostalgia with antique mirrors. Mirrored tiles can effortlessly brighten and enlarge a room.
Next, choose the ideal wall for your accent—preferably the first one visible upon entering. Foam boards from Dollar Tree serve as a sturdy base for attaching mirrors, making it easier to create a consistent and stable structure. Position mirrors opposite windows to enhance brightness and reflect scenic views.
Strategically place them near light sources and focal points like artwork to draw attention and create dynamic visuals. Keep the surrounding area uncluttered to maintain focus.
Utilize simple adhesive hooks, double-sided tape, or liquid nails for secure installation, cutting mirrors to fit around obstacles. Frame them using décor-matching materials like wood or metal, or use neutral frames for an elevated effect.
To finish, integrate mirrors with plants, shelves, or backlighting using LED strips for added drama and depth.
Mixed Media Mastery
Mirrors aren’t the only way to infuse personality into your space. Let’s explore mixed media mastery to achieve an accent wall that truly captivates. By combining different textures, materials, and colors, you can create a look that’s both stylish and uniquely yours. Here’s how you can do it:
1. Combining Textures and Materials: Mix wooden boards of varying widths with paint colors for a custom aesthetic.
Introduce textured wallpaper alongside elements like beadboard or wooden shelves for added depth. In areas like kitchens, use peel-and-stick tiles to establish a chic focal point.
2. Layering Patterns and Designs: Use peel-and-stick wallpaper for an adaptable and removable option.
Create a gallery wall by displaying diverse artworks. Incorporate stencils to craft faux shiplap patterns, giving the wall a distinct look.
3. Integrating Different Colors: Employ bold colors or moody schemes to visually separate the accent wall. Such design flexibility allows you to express your personal style through unique combinations.
Use color-blocking techniques or gradients to introduce a sophisticated, modern appearance.
4. Adding Dimension and Depth: Install textured wall panels or add molding to bring depth.
Finally, consider using wooden shelves to not only add texture but also functionality to the ensemble.
This approach lets you tailor your space artistically, ensuring it’s as unique as you are.
Frequently Asked Questions
How Do I Choose the Right Accent Wall for My Space?
Start by selecting a wall that naturally captures attention without obstructions. Avoid those with windows or doors. Make certain it complements the room’s style and lighting. Experiment with samples for texture and color before committing to the design.
What Tools Are Essential for Creating a DIY Accent Wall?
It’s a coincidence you’ve gathered these tools: miter saws, rulers, nail guns, and paint brushes. You’ll transform walls with precision, feeling like an artist. With focus and style, master the art of bringing character to your space.
Can Accent Walls Be Applied in Rental Properties Without Damage?
Yes, you can create stunning accent walls in rentals without damage. Use removable wallpapers, decals, or adhesive hooks. Prioritize understanding your lease, choose neutral designs, and consult with your landlord. Transform spaces with stylish, rental-friendly methods effortlessly.
What Are Budget-Friendly Materials for Accent Wall Projects?
You’ll find plywood, weathered wood planks, and stained lath incredible for creating eye-catching accent walls. Embrace cost-efficiency with MDF, faux shiplap, bold paint, peel-and-stick wallpaper, or even grid walls to transform any space affordably.
How Can I Ensure My Accent Wall Complements Existing Decor?
To guarantee your accent wall complements existing decor, carefully select colors and patterns matching your room’s palette. Balance materials and textures thoughtfully, and consider the style of adjacent rooms for a cohesive, polished look.


