
Sprinkler System Spring Startup – Step-by-Step to Avoid Costly Leaks
Nothing destroys a homeowner’s spring faster than a preventable sprinkler leak turning the yard into a swamp. If you’re gearing up to restart your irrigation system after winter, you can’t afford to just flip the switch and hope for the best. A careless startup risks burst pipes, wasted water, and repair bills that sting. Follow these steps to bring your system back online safely—one overlooked detail could cost you hundreds.
Why Skipping Sprinkler Spring Startup Risks Burst Pipes
When you skip your sprinkler system’s spring startup, you’re gambling with the integrity of your entire irrigation network. Frozen ground traps water inside lines, where it expands and generates enough pressure to crack pipes. That ice buildup turns your system into a ticking time bomb for burst pipes and costly repairs.
A proper inspection during startup lets you identify winter damage before introducing water pressure. Without it, activating your irrigation system can trigger a sudden release of force, causing severe damage and leaks throughout the network. You also lose control over water usage, driving up utility bills and wasting resources in drought-prone regions. Spring startup puts you in command, ensuring every component functions efficiently before the season demands peak performance.
Check the Ground Before Starting Your Sprinkler System
Before you flip the switch on your sprinkler system, check that the soil has thawed to a depth of at least 10-12 inches. Use a shovel or trowel to test ground softness. If soil frost remains or the ground feels rigid, delay activation—frozen pipes crack under pressure, causing leaks and expensive repairs.
Monitor local weather conditions and frost warnings before starting your system. One premature move can compromise your entire setup.
While you’re at it, inspect the surrounding area for sunken spots or unusually green patches. These signal existing leaks hiding underground that demand attention before activation. Catching these issues early puts you in control, protecting your pipes from bursts and saving you from wasted water and costly fixes down the line.
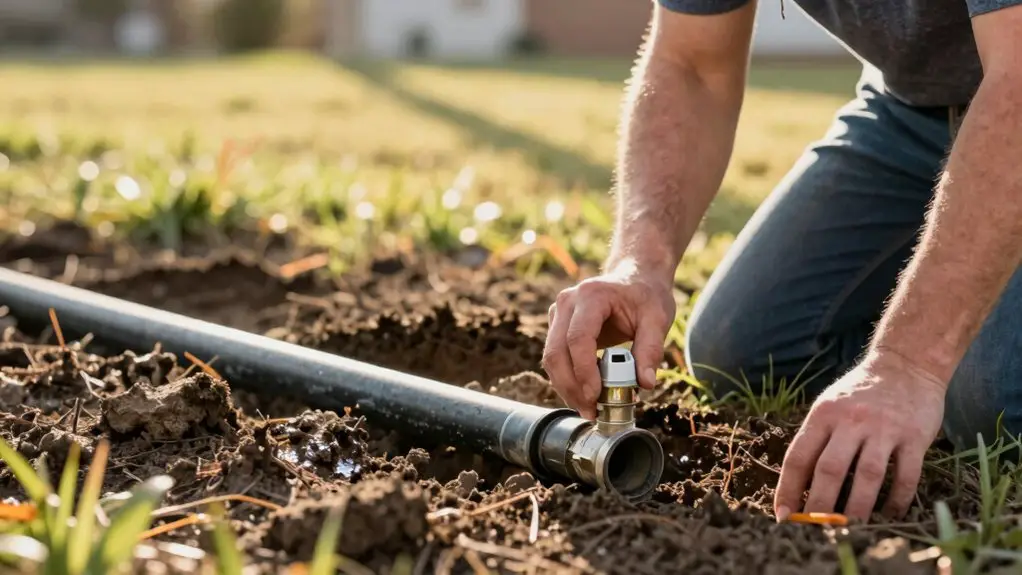
Inspect the Backflow Preventer, Valves, and Heads
Your backflow preventer is the first component to examine, since damage here can contaminate your drinking water. Inspect it for visible cracks or missing caps that could compromise your water supply. Don’t skip this step—you’re protecting what flows into your home.
Next, check all control valves for tightness and functionality. Each valve should open and close smoothly without leaks. A single faulty valve can undermine your entire system’s performance.
Finally, turn your attention to sprinkler heads. Clear any debris that accumulated over winter, since clogs disrupt water distribution and damage your lawn. Visually inspect each head for cracks or missing nozzles—these defects create erratic spray patterns and waste water. Also verify that all valve boxes remain intact, with no broken wires or connections compromising efficiency.
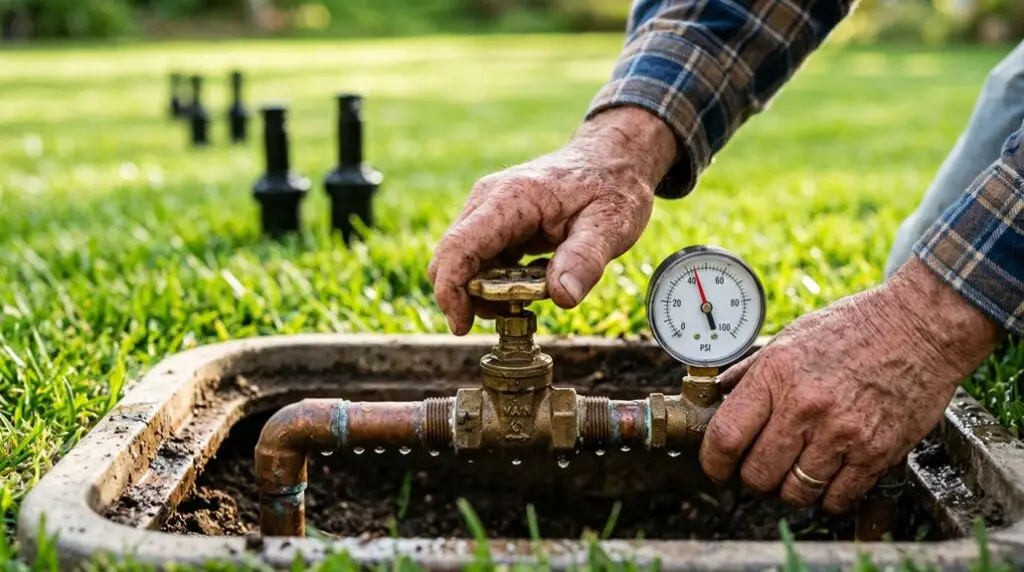
Turn on Your Sprinkler System Slowly and Test Each Zone
Once you’ve confirmed that all components are in good shape, it’s time to bring your system back to life—but slowly. Open the main control valve gradually to fill the pipes and prevent water hammer from damaging your sprinkler system.
Set your controller to manual mode and test each zone individually for 3-5 minutes. Observe water flow, spray direction, and coverage from each of your sprinkler heads. Flag any irregular patterns that suggest clogs or damage. Watch closely for leaks at joints and valves—tighten connections or replace gaskets as needed.
After testing, update your controller settings with confidence. Adjust watering durations based on what you observed and align programming with current seasonal requirements. You’ll command a system that runs efficiently and wastes nothing.
Troubleshoot Leaks, Low Pressure, and Uneven Spray
Even after a careful startup, you may still encounter leaks, low pressure, or uneven spray—and catching these problems early can save you thousands of gallons of water each year. Inspect all sprinkler heads, valves, and fittings for visible cracks or loose connections, as these are the most common sources of water loss.
Low pressure often traces back to partially closed valves or debris obstructing the system. Add a valve check to your checklist to start each season right. Clogged nozzles and damaged sprinkler heads cause erratic spray patterns, so run each zone for 2-5 minutes during monitoring. If water pools in unintended areas, adjust spray direction or replace faulty components. Prompt repair of these issues prevents escalating water bills and keeps your sprinkler system operating efficiently.
Set Your Sprinkler Controller for Spring Watering
The sprinkler controller serves as the brain of your irrigation system, and getting its settings right for spring is essential to efficient watering. Start your spring sprinkler start-up by verifying the date and time are correct, then switch to manual mode to test each zone individually. Confirm every zone activates and shuts off properly before programming your watering schedule.
Set watering durations to match spring’s irrigation needs, which typically demand less water than summer. Connect rain sensors or soil moisture sensors to prevent overwatering after storms and boost water conservation. Check local watering regulations and program your controller to comply with any restrictions. These adjustments give you complete command over your system’s performance while keeping water usage responsible and efficient all season.