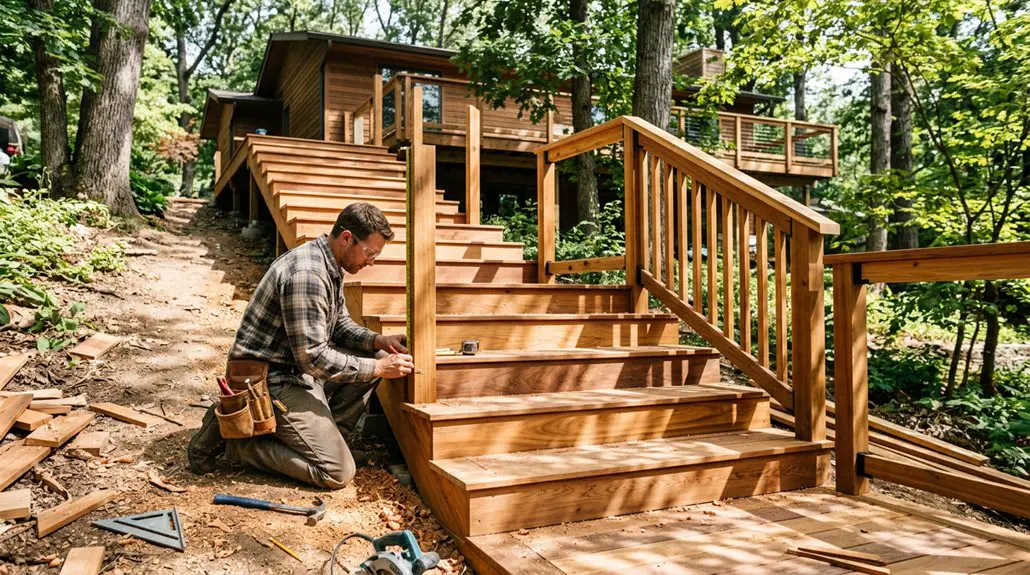
Cable railing is one of those upgrades that instantly gives any deck a fresh, modern appearance. Its beauty is in the sheer simplicity of the system, which maximizes the view while remaining an affordable DIY project. It is easy to give your deck an instant cable railing facelift that you can install yourself.
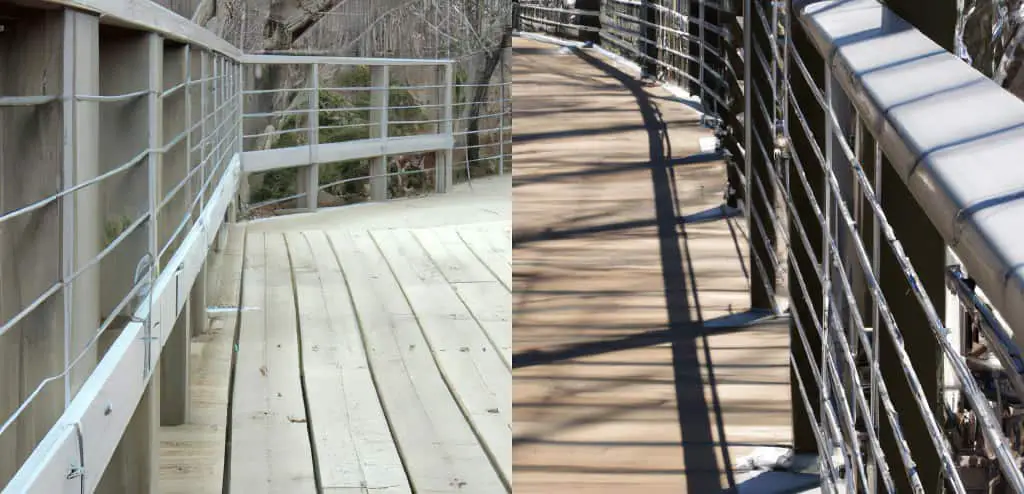
The most commonly used type of cable railing for residential projects is 1/8 inch stainless steel. Cables must be spaced a maximum of four inches apart. Intermediate posts are required to keep the cables spaced equally if the deck posts are further than four feet apart.
By following our step-by-step installation instructions, you don’t need to be an experienced handyman to install your cable railing system. Doing it yourself can save you loads of money and give you instant bragging rights while showing off your slick, modern deck railing.
How To Install Cable Railing On A Deck
One of the benefits of choosing cable railing for your deck is that it is relatively easy to install. That is not to say you can rush in headlong without the proper planning and correct tools, but the result will be well worth the effort.
Each deck is unique, so the amount of cable and the total project cost will vary. When measuring up the area of the deck where you want to install cable railing, keep the following two points in mind:
- When calculating how much cable you need, measure the space under the top railing and divide it equally into sections. The building code in most areas stipulates that cables can be no more than 4 inches apart.
- The standard spacing between posts is no more than 4 feet. If the intended span on your deck will be longer, you will also need to include spreaders. These can be stainless or made from wood or metal and will keep the cables spaced correctly and take the place of intermediate posts on the deck.
The project’s success depends on precise measurements to ensure that cables are spanned neatly and accurately. After all, you don’t want your DIY cable railing project to look like a DIY job!
Tools Needed To Install DIY Cable Railing On A Deck
To make your DIY cable deck a reality, you need the following tools and materials:
| Materials | Tools |
| 1/8″cable is most commonly used for residential projects. If you prefer something slightly more visible, choose 3/16″ but keep in mind that it won’t bend around corners. | Drilling equipment: Drill, drill bit & drill guide. If you are attaching any sides of the cable railing to brickwork, you will also require a carbide-tip masonry bit. |
| Swage lag screws | Cable cutters |
| Stainless steel protective sleeves | Adjustable wrench |
| A plank to use as a measured guide to mark holes. | Cable crimper& die |
| If your deck has spans longer than 4 feet between posts, you will need intermediate posts to keep the cables equally spread. | Locking pliers –these are easier to use than the flimsy lag screw wrench often supplied with the lag screws. |

Easy Installation Guide Upgrade A Deck With Cable Railing
Installing cable railing is not a one size fits all scenario, as each deck is different. There is, however, plenty of overlap, and understanding the steps required, makes the project seem much more manageable.
Step 1 – Prepare The Existing Upright Deck Posts
If you are upgrading your current deck, the posts may have marks or damage from whatever was removed. Before installing cable railing, it is a good idea to do some DIY to restore the posts and top rail so they look pristine to receive the stainless steel cable.
Fill any holes and sand if necessary. Then paint or stain the uprights and the deck railing so you have a pristine canvas to work on.
Step 2 – Use A Plank To Create A Hole-Marking Template
The plank you use should fit snuggly into the gap from the surface of the deck floor to under the handrail. Carefully measure the area and create marks at equal distances no more than 4″ apart. Deck cable railing is commonly spaced 3″apart, but check that it will fit evenly into your space.
Then drill ¼ inch holes through the plank. The guide holes must be big enough for a thin marker to fit through.
Step 3 – Drill The Holes
Clamp the plank onto one side of each post and carefully mark the spots you need to drill. Then using a drill guide, drill straight holes through each post.
Once all the holes are drilled, poke something through each hole to remove excess sawdust. The holes need to be clean to receive the protective sleeves.
Step 4 – Install Protective Sleeves And Swage Lag Screws
Place a proactive sleeve into each side of the middle posts. At the end posts, use the swage lag screws.
One side will screw in clockwise, and the other end will turn counterclockwise. Do not tighten the end swage lag screws completely, as they will be used later to tension the cable.
Step 5 – Cut The Correct Length Of Cable
Measure the entire distance of the two furthest posts. Then cut a section of cable to be slightly longer than required.
Measuring the first piece of cable and using it as a length guide for the rest is the easiest way to save time. Just be sure to test that the first piece is slightly longer than required before using it as a guide and cutting the rest.
Step 6 – Thread And Crimp The Cables In Place
Thread each cable through the protective sleeves. Press the one end into the swage lag screw until it stops. Then use the cable crimper to crimp it in two places to hold the cable securely.
Before inserting the other end in the swage lag screw, check that it is the correct length. It should be easy to insert into the swage lag screw but still taut enough to tighten sufficiently when the swage lag screws are rotated.
Step 7 – Tight The Swage Lag Screws
Since one side of the furthest post will rotate one way to tighten, and the other side must turn in the opposite direction, it may be easier if you have a helper for this step. Turn the swage lag screws on either side to tighten the cable.
The cables should feel taut but with a little bit of give. If you notice any cables sagging, you only need pliers to tighten them.
Is Cable Deck Railing Cheaper Than Wood?
Although cable railing may appear to be a minimalist option for a deck, the initial outlay will be higher than a wooden or glass alternative. However, cable railing requires little or no maintenance and will remain in mint condition for many years.
The overall budget will also be affected by things like:
- Whether you also want to include the railings on the stairs,
- The type of posts you will need to drill through. Metal posts can be a little more challenging than wood posts.
- Whether you will be buying a cable rail kit or purchasing components individually.
- If you will be doing a DIY installation or hiring a professional
Although installing cable railing on a deck may initially be more expensive than wood, it will never need sanding, painting, or varnishing. So long as the quality stainless cable is used and the lines are correctly tensioned, cable railing is an investment in a modern railing system that will look good for many years.
Learn more!! see our article The Ultimate Guide To Choose And Install A Gazebo for more information
Conclusion
Upgrading your deck with cable railing is an exciting project that will give the outdoor space a fresh new look. Installing the stainless-steel cabling yourself can seem daunting, but with basic carpentry skills and by following the steps, a modern, low-maintenance deck can easily become a reality.