When temperatures drop below freezing, the water sitting in your outdoor faucets becomes a ticking time bomb for your plumbing. You’ve probably heard horror stories about burst pipes and costly repairs, but here’s the thing—winterizing your exterior spigots isn’t complicated once you know where to look and what steps to follow. The key starts with finding your shutoff valves, and their location might surprise you.
Understanding Why Outdoor Faucets Freeze and Burst
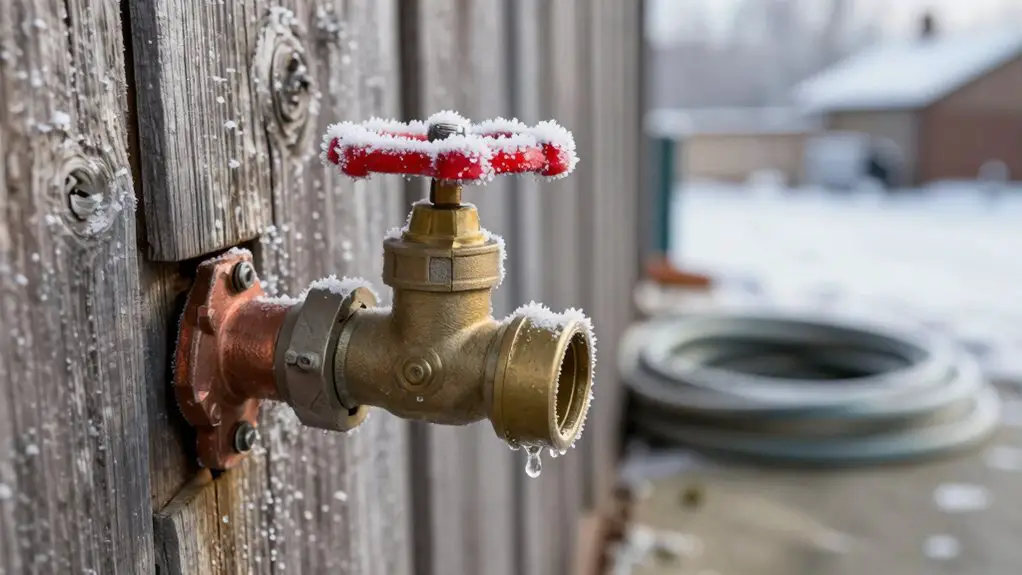
When temperatures plunge below freezing, the water trapped inside your outdoor faucet and its supply pipe expands as it turns to ice.
This expansion generates enormous pressure—up to 2,000 pounds per square inch—against pipe walls that weren’t designed to withstand such force.
Your outdoor faucets face heightened vulnerability because they’re directly exposed to ambient temperatures without the thermal protection your interior plumbing enjoys.
The brass or copper components conduct cold rapidly, accelerating ice formation.
Once ice blockage occurs, pressure builds between the frozen section and your home’s water supply.
The pipe doesn’t always burst at the ice location; instead, it typically ruptures at the weakest point downstream.
You won’t discover the damage until thawing releases water through the split, potentially flooding your walls or foundation.
Locating Interior Shutoff Valves for Exterior Spigots
Most homes have dedicated shutoff valves that control water flow to each exterior faucet, and finding yours before cold weather hits can save you thousands in water damage repairs.
Locating your exterior faucet shutoff valves before winter arrives is your best defense against costly pipe damage.
Start your search in the basement or crawl space, tracing pipes that run toward exterior walls. You’ll typically find gate or ball valves positioned 6 to 12 inches from where the pipe penetrates the wall.
In slab foundations, check utility rooms, under kitchen sinks, or in garage areas adjacent to outdoor spigots.
Label each valve once located—this prevents confusion when you’re winterizing multiple faucets.
If your home lacks dedicated shutoffs, you’ll need to close the main water supply or install individual valves before the next freeze season. Consider this a critical upgrade for thorough freeze protection.
Step-by-Step Guide to Draining Outdoor Faucets
Once you’ve located your shutoff valves, you’re ready to drain your outdoor faucets and protect them from freeze damage.
Start by turning off the interior shutoff valve completely.
Next, head outside and open the faucet fully to release any remaining water in the line. You’ll hear air entering as water drains out—this indicates proper drainage.
Return inside and locate the bleeder cap on your shutoff valve.
Place a bucket beneath it, then open the cap to expel trapped water between the valve and exterior faucet.
Keep the bleeder cap slightly open and the outdoor faucet open throughout winter to allow expansion if any residual moisture freezes.
For frost-free spigots, simply disconnect hoses and open the valve briefly.
The integrated design handles drainage automatically when unobstructed.
Identifying Frost-Free Hose Bibs and Their Unique Requirements
Frost-free hose bibs look similar to standard outdoor faucets, but they function differently and require specific winterization steps. These units feature an elongated stem that positions the shutoff valve inside your heated wall, typically 6 to 12 inches from the exterior. You’ll identify them by their longer handle shaft and angled design.
Your winterization approach differs greatly with frost-free models. You must disconnect all hoses before freezing temperatures arrive—leaving a hose attached traps water inside the stem, defeating the self-draining mechanism.
After removal, open the faucet slightly to release residual pressure. Inspect the vacuum breaker cap on top for cracks or mineral buildup.
If your frost-free bib has an interior shutoff valve, close it and open the exterior faucet to drain completely. This prevents ice formation within the extended stem.
Common Mistakes to Avoid When Winterizing Outdoor Plumbing
Even experienced homeowners make critical errors during outdoor faucet winterization that lead to burst pipes and costly repairs. The most damaging mistake is leaving hoses connected—trapped water expands and cracks the faucet body or supply line regardless of whether you’ve shut off the interior valve.
A connected hose is all it takes to turn a simple freeze into a devastating pipe burst.
You’ll also sabotage your efforts if you close the bleeder cap on the shutoff valve before water fully drains. This traps residual water exactly where freeze damage occurs.
Don’t assume frost-free hose bibs require no attention; they’ll fail if installed without proper downward pitch or if you leave hoses attached.
Another oversight involves forgetting secondary outdoor water sources—sprinkler system connections, outdoor kitchens, and detached garage faucets. Document every exterior water point and verify each one’s drained completely before temperatures drop below freezing.
Tools and Supplies Needed for Proper Faucet Winterization
Knowing what mistakes to avoid gives you a solid foundation, but you’ll also need the right tools and supplies on hand before starting the winterization process.
Gather these essential items: an adjustable wrench or pliers for loosening stubborn valve connections, a bucket to catch residual water, and clean rags for wiping down components.
You’ll want Teflon tape for resealing any connections you’ve disturbed and a flashlight for inspecting dark basement shutoff locations.
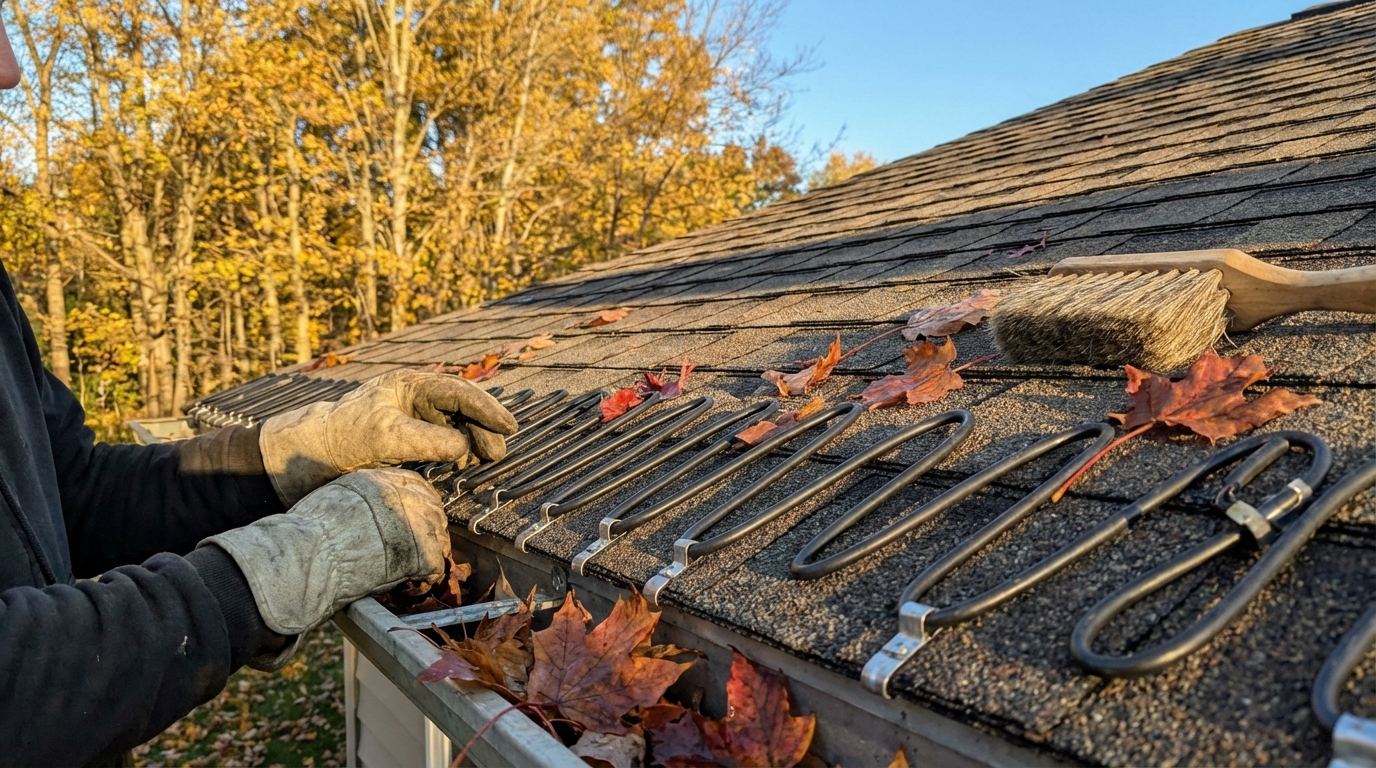
For extensive protection, stock up on insulated faucet covers, foam pipe insulation sleeves, and outdoor-rated heat tape if you’re in an extreme climate zone.
Consider keeping a small air compressor available—it’s invaluable for blowing out remaining water from horizontal pipe runs where gravity drainage proves insufficient.
Having everything prepared guarantees efficient, thorough winterization.
Signs Your Outdoor Faucets Were Not Properly Winterized
Several warning signs can alert you that your outdoor faucets didn’t survive winter unscathed.
You’ll notice reduced water pressure or no flow when you first turn on the spigot in spring. Listen for hissing sounds inside walls near the faucet location—this indicates an active leak from a cracked pipe.
Inspect the faucet body for visible cracks, splits, or bulging sections where ice expanded the metal. Check for water stains, dampness, or mold growth on interior walls adjacent to outdoor spigots. A sudden spike in your water bill without increased usage points to hidden leaks.
If the handle spins freely without engaging the valve stem, internal components have likely failed.
Address these issues immediately to prevent extensive water damage and costly repairs.