Since our area gets a lot of wind, we did not want our gazebo to begin to falter in the wind, as this could eventually collapse. Therefore, anchoring our gazebo to a concrete slab was a simple and fast process. We’ve got all the steps you need to safely secure your gazebo’s anchors, whether you’re an experienced do-it-yourselfer or just getting started with the hobby.
Tools to secure a gazebo to a concrete slab:
- Corded/cordless drill with a hammer function
- Masonry, metal, or wooddrill bits
- Wedge anchor bolts
- Washers
- A level
- Measuring tape
- Chalk
- Adjustable wrench
- Hammer
- Screws
- Screwdriver bits
- Angle grinder
- Vacuum
- Chalk line
- Galvanized angle brackets
Step 1: Getting The Gazebo Ready To Place On The Concrete
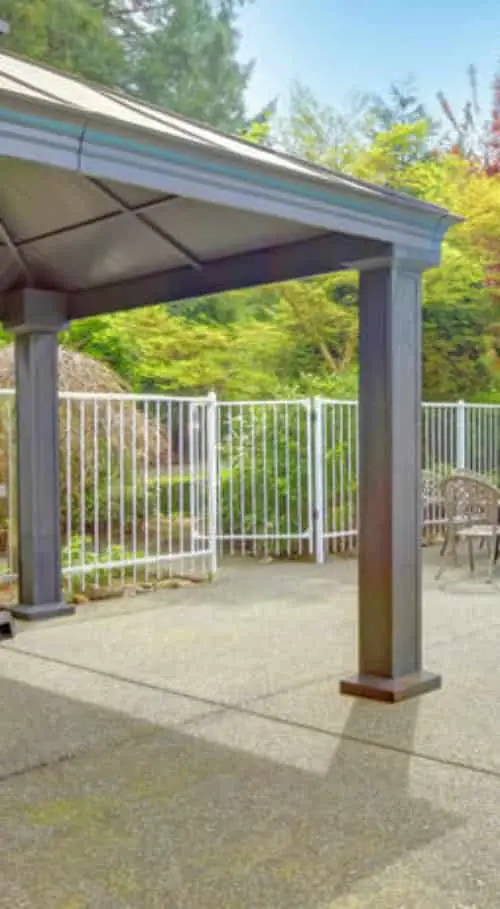
The first step will be to get the gazebo placed on the concrete slab. We will assume this is a gazebo with a permanent structure made from wood or metal. We will also presume the concrete slab is already poured, and there was no preplanning done to place this particular gazebo unto it. Therefore, no anchors were precast into the concrete that will aid in securing the gazebo.
After the gazebo is built and the structure is sound, we can move on to securing it to the concrete.
Step 2: Cleaning The Concrete Slab
Clear all debris from the concrete slab and vacuum the slab. You want the work area clear of clutter, furniture, leaves, and dust.
Step 3: Measure The Placement Of The Gazebo
Now place the gazebo on the slab exactly where you want it positioned. Then, stand back, look at it from different angles, and see if the positioning is where you want it. Using the chalk line, create a straight line from one leg to the other (same side legs). Using the 3-4-5 method, determine if the four legs are square.
The last check is to measure and mark the distance between each leg to ensure they are uniformly spaced. When they are, draw around each leg on the concrete in case they move. You can also check if each leg is vertically level.
Step 4: Drill Anchor Holes In The Concrete
Deciding on the sort of legs on your gazebo and the type of anchoring mechanism you will use will influence whether you need to move the gazebo or leave it where it is. We will assume you are going to leave them where they are. We are using galvanized angle brackets to secure each leg to the concrete.
Place the angle bracket next to the leg, position it where you want it, and mark it. The depth of the holes is determined by the length of the anchoring wedge bolts you will use. We recommend using hot-dipped galvanized anchoring wedge bolts. Then, using the hammer drill, drill the holes with a masonry drill bit.
“A pro tip is to mark the depth of the hole on the drill bit using electrical tape.”
Step 5: Secure The Anchor Wedge Bolts To The Concrete
Using the vacuum, clean each hole. Then place the anchor wedge bolts in the hole. It would be best to attach the angle brackets and nut to the bolt before hammering it into the hole. Hammering the top of the bolt will cause the thread to get damaged, and then you will struggle to secure the nut.
Repeat step 5 for each leg. It is best to anchor each leg twice, one on either side of the leg. If you live in an area with extreme wind conditions, we recommend fastening it on all four sides of the leg. Check that the anchors are flush with the concrete surface.
Step 6: Attach The Angle Bracket To The Gazebo Legs
Check if the leg is still on the marked spot you created in step 3. If everything is lined up and leveled perfectly, drill pilot holes into the gazebo leg using a metal or wood drill bit. (Depending on the leg type you have). Then using washers and screws, attach the angle bracket to the gazebo leg. You can also try to use self-drilling Tek screws. (Wafer Tek Screws)
Step 7: Checking The Stability And Level
After the leg anchors have been installed on all sides, it is crucial to examine the stability and level of the gazebo. If something is slightly off, adjust the bolts and re-level until you’re pleased. Then, return in a few days to ensure that everything is still secure.
Step 8: Clean The Work Area
As a final step, cleaning the work area from all bits and scraps that may be left over from the task is good practice. Then, do a final vacuum of the space and clean all the tools you used.
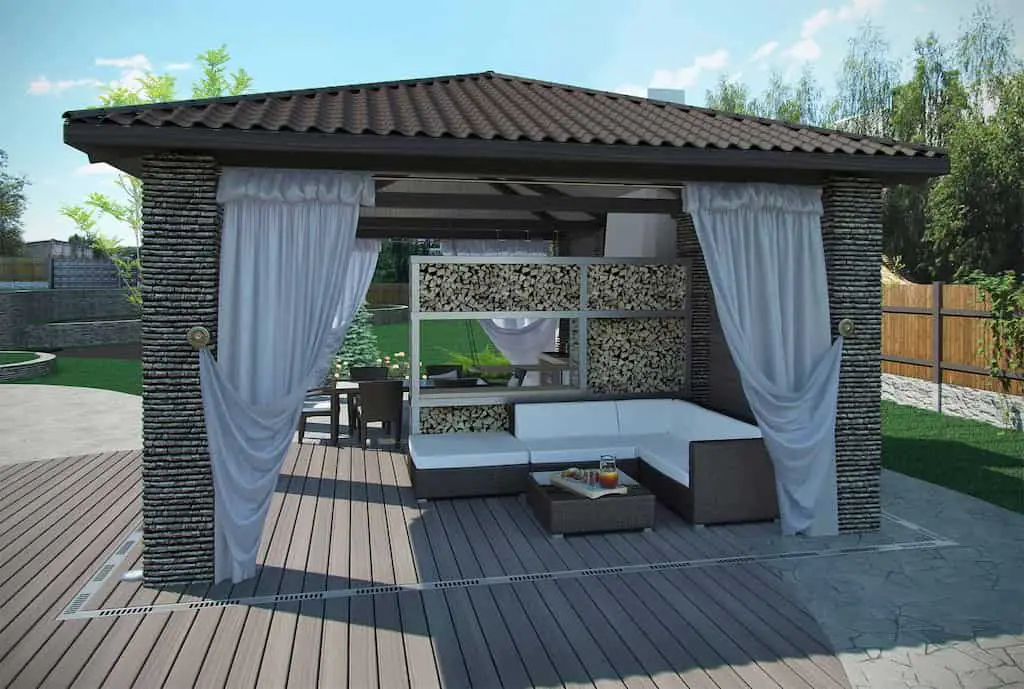
What Are The Advantages Of Securing A Gazebo To Concrete?
Anchoring your gazebo to a concrete slab adds stability. It keeps it from being damaged or knocked over in high winds. A concrete base is a perfect anchor for any gazebo unless you get a tornado.
How To Secure A Gazebo To Concrete Without Drilling Holes
Sometimes, people ask if you can secure a gazebo onto a concrete floor without drilling anchor holes. We understand that sometimes the gazebo is only temporary, and they don’t want anchor holes in the concrete.
There are alternatives to drilling holes to anchor a gazebo to concrete, such as employing weight plates or heavy-duty sandbags. Here’s how it’s done, but be warned that this is only for places with low wind conditions.
Using weight plates, keep the gazebo in place by adding weight plates to each leg. There are weight plates designed explicitly for gazebos. Look for weight plates constructed of a robust material such as cast iron or steel, and have handles for convenient carrying. However, these are expensive, and we have seen people use gym weights instead of the industry standard.
Another alternative is filling heavy-duty sandbags with sand or gravel and placing them on each leg of the gazebo. Check that the sandbags are sturdy and have handles for easy hauling. The sandbags’ weight will help to secure the gazebo and keep it from blowing away in windy circumstances.
Learn more!! see our article The Ultimate Guide To Choose And Install A Gazebo for more information
Related article Can You Drill or Screw Into a Paving Slab?
Conclusion
Securing a gazebo to a concrete slab from wind is simple, with the correct tools, preparation, and attention to detail. You may be confident that your gazebo will be stable, level, and secure if you follow the steps indicated in this article. The instructions are simple to follow whether you are an experienced DIYer or a novice. They will result in a safe and secure gazebo that you may enjoy for many years.