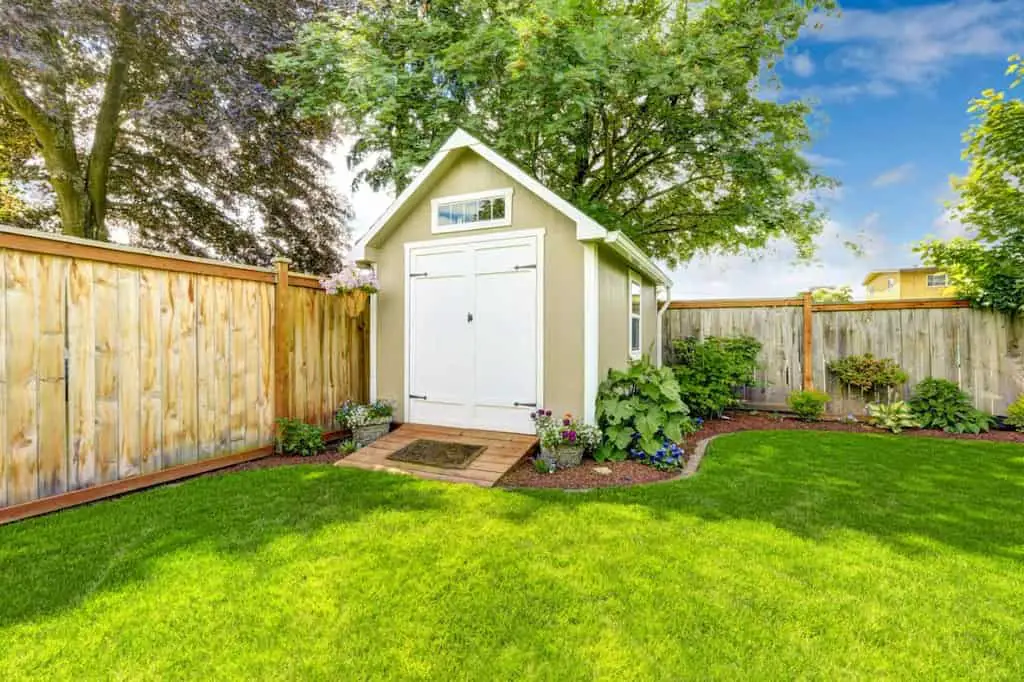
Outdoor storage is something everyone needs if they have a big yard. All those tools and toys need a home after being used and leaving them out to the elements is a great way to have them ruined. Now, the most obvious solution is to put all your tools, toys, and outdoor furniture you never use away in a safe and secure place like a shed. But even sheds have to face the elements.
Rotten wood, crumbling foundations, infestations, all of these can easily ruin a perfect shed and more importantly ruin what’s inside your shed. These issues are brought upon by water, and while great for your garden is instead going to be your shed’s worst enemy. If you’re not careful, your shed could easily rot away and you have to pay the repair costs or buy a new one.
Therefore, it’s not just a good idea, but absolutely required, that you make sure your shed is waterproof inside and out. Not only will you keep what’s inside your shed safe, but you won’t have to worry about the cost of fixing your shed later down the road! In this article, we’re going to discuss the 8 simple steps you need to take to make sure that your shed will remain waterproof.
Step 1: Pick the Right Foundations
As the old saying goes, location, location, location. When building your shed, you need to find the right spot for it and make sure that it’s not touching the ground. For the actual area where the shed will go, pick a flat area that gets plenty of sunlight and where the soil dries out. You don’t want the soil to remain damp, as moisture is going to seep in. Likewise, if the area is not leveled and in a low point, water will pool on the ground.
Now, while location is key, so is foundation. Placing your shed on the ground is a great way for the floor to rot away because of the moisture, regardless of how treated the floor might be. You want your shed to be protected from the elements, so you need to make sure that it’s not touching the ground.
There are several ways to go about this. The simplest way is to create or buy a concrete slab and let your shed rest on that. Don’t have the floor level at the same level as the ground, so water cannot get inside of the shed. Shed base can be 10 cm over the ground, no need to have high step. The only problem with concrete base is that concrete will block your airflow and allow the inside of the shed to become damp. Airflow is just as important as not touching the ground, as without proper airflow the shed can get damp quick.
In this case, use sill seal, it is a membrane made from Styrofoam material, to have the shed not sitting directly on the concrete. This way, the bottom of the shed is protected from the moisture on the ground and still has enough air circulating to keep it from becoming too damp. Finally, consider adding gravel pads or a form of drainage around the foundation. This will keep the water heading away from your shed.
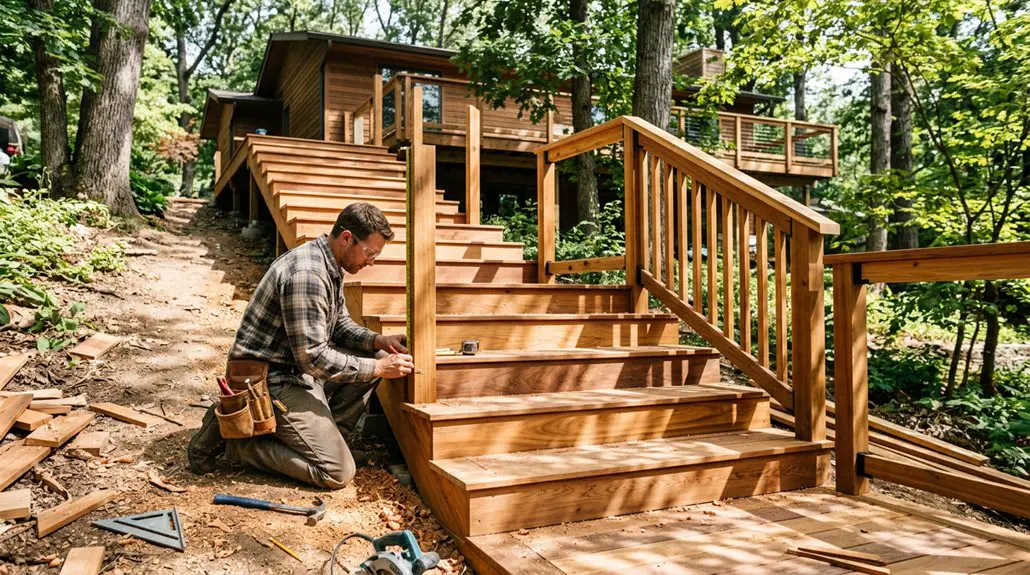
Step 2: Preserving the Wood.
After you have built or selected your foundation and the perfect spot, the next step in waterproofing your shed will be preserving the wood. This is a vital and often overlooked, step as preserving the wood will really help you in the long run. The two types of treatments you’ll encounter are stain-types and sealant-types.
With a stain, they’re designed for the treatment to penetrate into the wood and block out moisture and other harmful elements. A sealant is something more akin to a shell, which dries around the wood to protect it. Typically, the results are sealants make the wood much shinier and glossier compared to a stain, which allows more of the natural color to shine through.
It’s recommended that you don’t use a sealant in areas with high foot traffic, but this means the shed will be just fine with either a sealant or a stain. Because many people enjoy painting their sheds, a stain is often recommended as it is easier to paint over. The final note with the treatment is they are formulated with either water or oil.
Water-formulated treatments are often cheaper and easier to use, but it will take more coats to fully protect the wood, and they don’t last as long as oil-formulated ones. We recommend using whichever one fits your budget and your style. You might like your wood as is, or might want to paint it, but the choice is yours.
On the last note when it comes to preserving the wood is what’s called. This chemical agent opens the wood grain and should be used before applying a stain, as the stain will have a much better time sinking deep into the wood. Simply apply the wood brighter, wait a few minutes, and then wash it off and let it dry before adding the stain of your choice.
Step 3: Sealing
The next step to keeping your shed waterproof is to seal the main structure of the shed. While some have recommended sealing the foundation and the bottom of the shed, this does pose the risk of cutting the airflow off and allowing damp conditions to settle in.
For sealing your shed, use a caulk gun and look for any openings or creaks. Check both inside and out and fill any hole you may find. Once you have sealed any holes, wait for the current caulk to dry and then go about looking for holes once again. When you’re looking to waterproof your shed, you can never be too careful. And as previously mentioned, taking these steps now will save you in the future from repairing or replacing your shed.
Once you have sealed up the holes, and checked for any you might have missed, it’s time to insulate and seal with doors and windows. Foam weather strips are your best bet for insulating the doors and windows, as it comes in rolls and is very simple to use. This will also fill in any gaps without causing problems with opening and closing the doors and windows like caulk would.
Lastly, it’s not a bad idea to add extra sealant to your shed, such as where the walls and the roof connect or the spots the wall connect. By default, they should already be connected with a sealant, but as we’ve stressed before, you can’t be too careful. You don’t have to add a thick layer of extra sealant, just a thin layer to add some reinforcement to the pre-existing seals.
Step 4: Painting
The fourth step on our list is to paint the exterior of the shed. You already preserved your wood, but a coating of paint will also go a long way to ensuring that the shed will last you years. If you’re not interested in painting, or like the wood texture and shine, use a transparent waterproof paint instead of a pigmented one.
Whatever paint you use, make sure that it is waterproof paint and not just water resistant. It’s not that uncommon to confuse the two and think both paints will work the same. Water resistant paint can resist water but isn’t going to last long in the face of a storm or constant pounding by hard rains. Waterproof, meanwhile, if formulated to be resistant to water and still last.
Finally, when you begin to paint, make sure your shed has been fully sealed. If you don’t, then you’ll notice all those unsightly gaps and openings and will have to paint over them after you apply the caulk.
Step 5: Add Insulation
Even sheds get hot and cold too. Adding insulation on the inside, not the outside, of the shed is a good way to prevent moisture from getting in and to keep it warm during colder months. And having it warm during this time will prevent moisture and wood rot from setting in. There are plenty of insulation products on the market ranging from sprays to fiberglass and even bubble wrap!
Pick what fits your budget and the design of your shed. If you’re applying fiberglass or any other strip material, and not a spray, make sure to staple it in place. Do not glue it. You want to staple the material because it creates a thin layer between the insulation and the walls of the shed, which again promotes airflow which stops moisture from taking over.
When applying insulation, ensure that you apply it to the walls and ceiling. Do not skimp out here, as a pocket of uninsulated area can let moisture inside.
Read my article on How Much Does It Cost To Insulate A Shed?
Step 6: Working on the Roof
The biggest step you’ll have to take is preparing the roof of your shed. You’ll want to use roof felt, if you already have shingles, you’re going to want to scrap these off. If you don’t have shingles and the roof is bare, then your work isn’t going to be too bad, but some work needs to be done still.
First, if you didn’t have to scrap any shingles off, prepare the roof by removing any visible nails and cleaning off any gunk or grimy spots. Once this is done, treat the roof like you did the rest of your shed. Apply a stain or sealant of your choice and then a waterproof paint. Since the roof is going to be covered with felt, transparent waterproof paint will work.
Using roof felt is easy enough, although time-consuming. With your first roll, make sure that an inch or the felt is hanging off the side. You need water to run off the felt, not stay in place after all. Make sure that the roll is long enough to cover both sides of the roof, which means you’ll need to take some measurements beforehand. You’re not going to find felt to cover your entire roof in one go, instead it’ll have to be strips at a time.
As you unroll your felt, use galvanized clout nails every foot or so to keep your felt in place. The nails should be four-fifths of an inch in length. Galvanized nails are rust proof, which you want because as mentioned your roof is going to be exposed to the elements. If your nails rust and the felt falls off, you could be in trouble.
After the first strip has been laid out, and nailed in placed, bring the next strip over and have it slightly overlapped with the first piece. The overlap is important as this helps with the flow of water. Like you did before, use galvanized clout nails at one-foot intervals. Continue this process until the roof has a covering of felt. As a final step, apply some felt across the apex, or top, of the roof and ensures it overlaps both pieces.
Some shed owners like to add a wooden frame at the end to cover up the felt on the sides, or because they just like the way the frame looks. If you’re going with a frame, make sure it’s one that will still allow the water from the felt to run off. You don’t want the water to pool at the top. Installing gutters helps with water flow, but ensure they remain clean. Clogged gutters promote mold growth and wood rot.
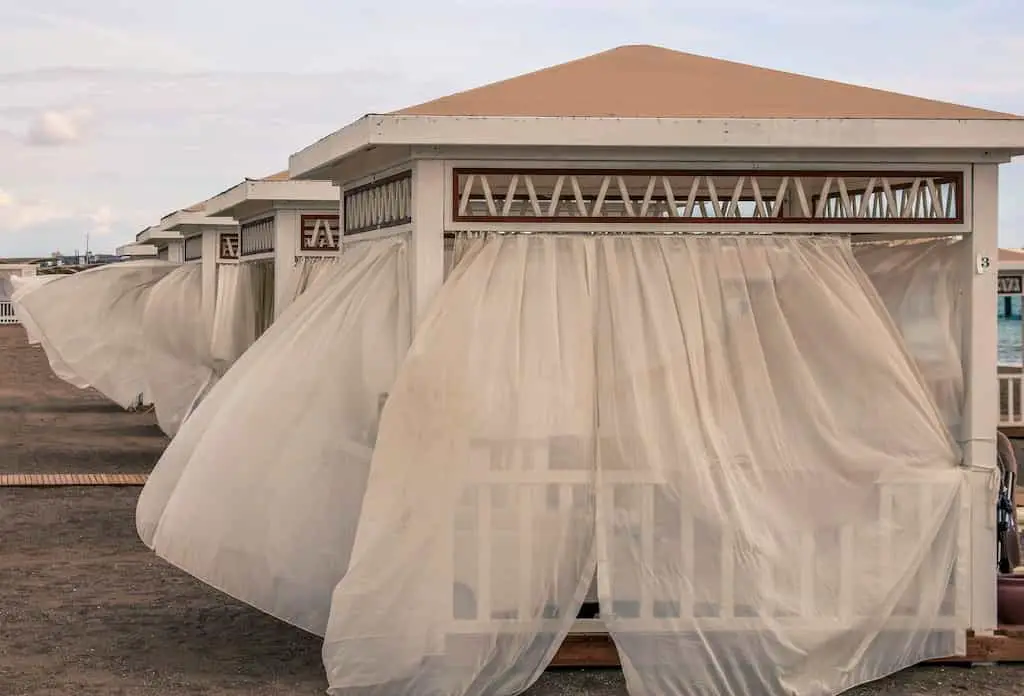
Step 7: Airflow
As stated, having a good airflow is key to keeping the shed free of moisture. The simplest way this can be achieved is with static vents at both ends of the shed, which added mesh to keep bugs out. This will ensure that there is a steady stream of air entering and leaving the shed. Alternatively, a solar powered ventilation system isn’t a bad investment to keep the air circulating but this could be quite expensive.
It’s good to pick the solar powered ventilation for more larger and complex sheds, simple sheds will do just fine with static ventilation. Regardless of what you take, ensuring the airflow is constant is what matters the most so look around to find what will fit your budget and design choice.
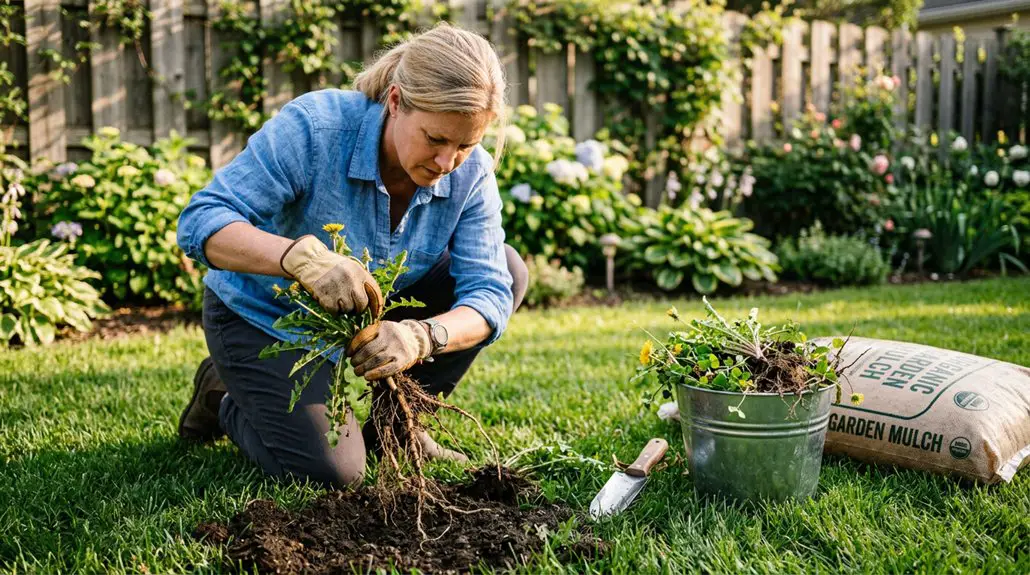
Step 8: Keep Vegetation Away
The last step is to keep plants away from your shed. Not only can they trap water against or shed or cut the airflow, but their roots can easily damage the foundation or even the walls! Which is why location is also important. You don’t want to chop down your favorite tree just because of the shed. Make sure that that no wild plants try to make their home around your shed, and if they do cut them down or cut them back.
Vines and ivy should be removed right away before they damage the shed, and anything with large or long roots should also be uprooted.
Learn more Best Shed Foundation For Uneven Ground
What If I Don’t Have A Shed?
If you’re needing to protect your toys, tools, and the like but don’t have access to a shed of your own, consider investing in an outdoor waterproof box. There are many on the market and it doesn’t take much searching to find the brands that make quality waterproof boxes.
These eight simple steps are all that it takes to ensure that your shed is waterproof. While they might seem like work, you don’t want to have to deal with a soggy, rotten shed in a few years. It’s better to put in the work now before then deal with the damage later. Putting in the work right away and you can have a brand new, waterproof shed in under a week!
If you already have a shed, consider the eight steps when you start on renovations. These steps aren’t just for new sheds, but preexisting ones as well!